
It has taken me a few days to get back to my 3D printed Jenny aircraft model project and so I thought I should bring everyone up to date on the progress thus far. I think with this project the hardest part of building this model is or I hope is the wings. I think I finally got a handle on this portion of the build so it is encouraging to see more of the assembly come together.

While I let the glue dry on some of the parts for the wings I started working on the wheels for the plane. I printed the wheels in pieces that you see in the photo above. This made it possible to get the wheels printed to the correct shape for the model. I sanded the wheel hubs smooth and then painted them a nice glossy red. Turned out very well I think.

Here I test fit the inner hubs for the wheels on to the axle for the plane. The wheels do not need to roll so there was no concern about that aspect of the model. This made things a lot easier in this portion of the assembly.

Here the wheels and axle assembly have been glued and assembled. I really like the right red paint and the white tires. The tires are two inches in diameter and the assembly is four and one half inches long. Should stand out nicely on the model once I get this assembly installed on the plane.

This little box like assembly is the mid section of the upper wing. It will be mounted just above the front cockpit of the plane. The assembly is made up of eleven pieces that needed to be pinned down for gluing just as I did for the wings themselves. The trick here will be to get this mounted on to both the upper wings and keep it all lined up correctly. Another portion of the assembly where I will have to keep a steady hand and a close eye to get it correct the first time out. I will have to keep my fingers crossed once again for this portion of the build.

Here's a close up view of the front radiator and propeller assembly. The yellow center shaft is slid through the back side of the radiator and then protrudes toward the front so the four inch prop can be attached. All of these parts are friction fit so if heaven help me this assembly should ever be damaged I can simply press out the shaft and print a new one. Hopefully that will never happen but in this instance it is a good idea just in case to have it set up this way. The propeller was printed using my 3D printer but was so thin that I had to reinforce it by coating each side of the blades with a thin layer of fiber glass. Turned out very well I think.

Before I added the lower wings to the upper wing I just had to see what the upper wing would look like once it was glued together. Here in this photo is how it will look. The clothes pins are just there to get this shot as the wing will not be totally glued and joined until I get the fuselage put together. Still quite impressive as the wing at this point is almost three feet long. The outer sections of the wing that still need to be assembled are the aileron assemblies. These have a bunch of small parts that will need to be assembled similar to how the wings were made and then glued on to the upper wing. This assembly will be even more detailed when they are in place.

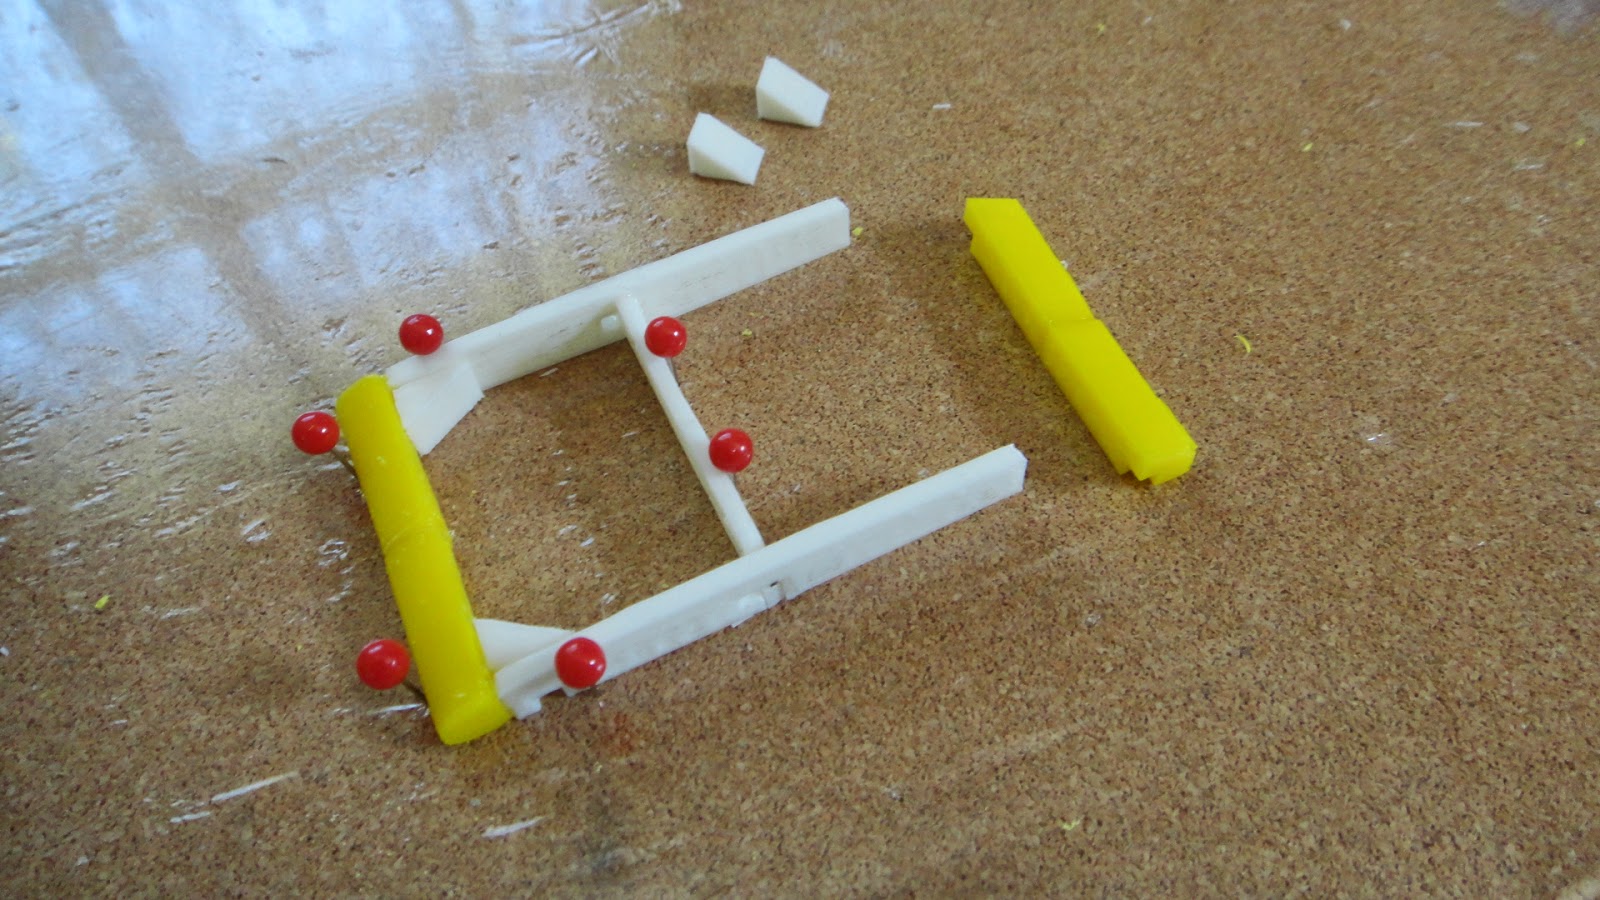
Here the lower wings are nearing completion. As before everything needs to be pinned down to hold it all into place for gluing.

This is a good shot of one side of the upper and lower wings finally being joined together, It was a real head scratchier to try to figure out how to get this all put together. The best way I can describe it is this. You buy a model airplane kit only to find that the directions to build it are in Chinese or Russian or there are no directions at all. Now try and build it anyway. This will give you and idea of what I am trying to work out. The plus side to this is that I designed the model from scratch so I at least have an idea of how it should go together.

Here's another good view of the other side of the wing assembly. I'm glad I decided that I will not cover the plane but rather leave everything bare as you see it. Will make an interesting model once it is all together. The next portion of the assembly will be to start working on the fuselage. Hopefully it will be a little simpler to assemble than the wings. Just will have to see how it goes and I'll post that portion of the build at a later time. Enjoy the photos.
No comments:
Post a Comment