
With some rather cooler rainy weather over the past few days here in the Midwest I find myself just that much more focused on my 3D printed Jenny aircraft model that I have been constructing. This post brings more advancement to the project with the tail section being added to the model along with the main wings being joined together. Here's how it all looks so far.

I was right about the color scheme for the model with the bright yellow tail and the blue fuselage. The horizontal stabilizer for the model mounted perfectly on to the tail of the fuselage as you can see in the photo. I did not want to mount the vertical stabilizer and rudder until additional bracing for the horizontal stabilizer was added first to the model. Just was the simpler way to get it put together.

In this photo you can see the underside of the horizontal stabilizer with the addition of the bracing. The actual plane had this bracing mainly because of the size of the tail being so large. I figured that the tail in the real plane was about eight feet across. So it made sense. It took me a while to figure out the correct length and angles on these braces using my computer model. Looks good and will be more solid too. The piece sticking out on top of this assembly is the tail skid for the plane.


I only needed to glue the vertical stabilizer and rudder into place to complete the tail feather for the model. I was happy that this portion of the plane had lined up so nicely. The fuselage at this point only weighs 5.8 ounces. Very light weight and very fragile.

Next in the assembly were the construction and installation of the ailerons for the model. The ailerons were built like the wings. All the parts were pinned to my bulletin board construction board and then glued together. Once the glue had dried and they were strong enough I glued them in place on to the outer rear portion of the upper wing assemblies. The clothes pins again help hold everything in place for this portion of the build.

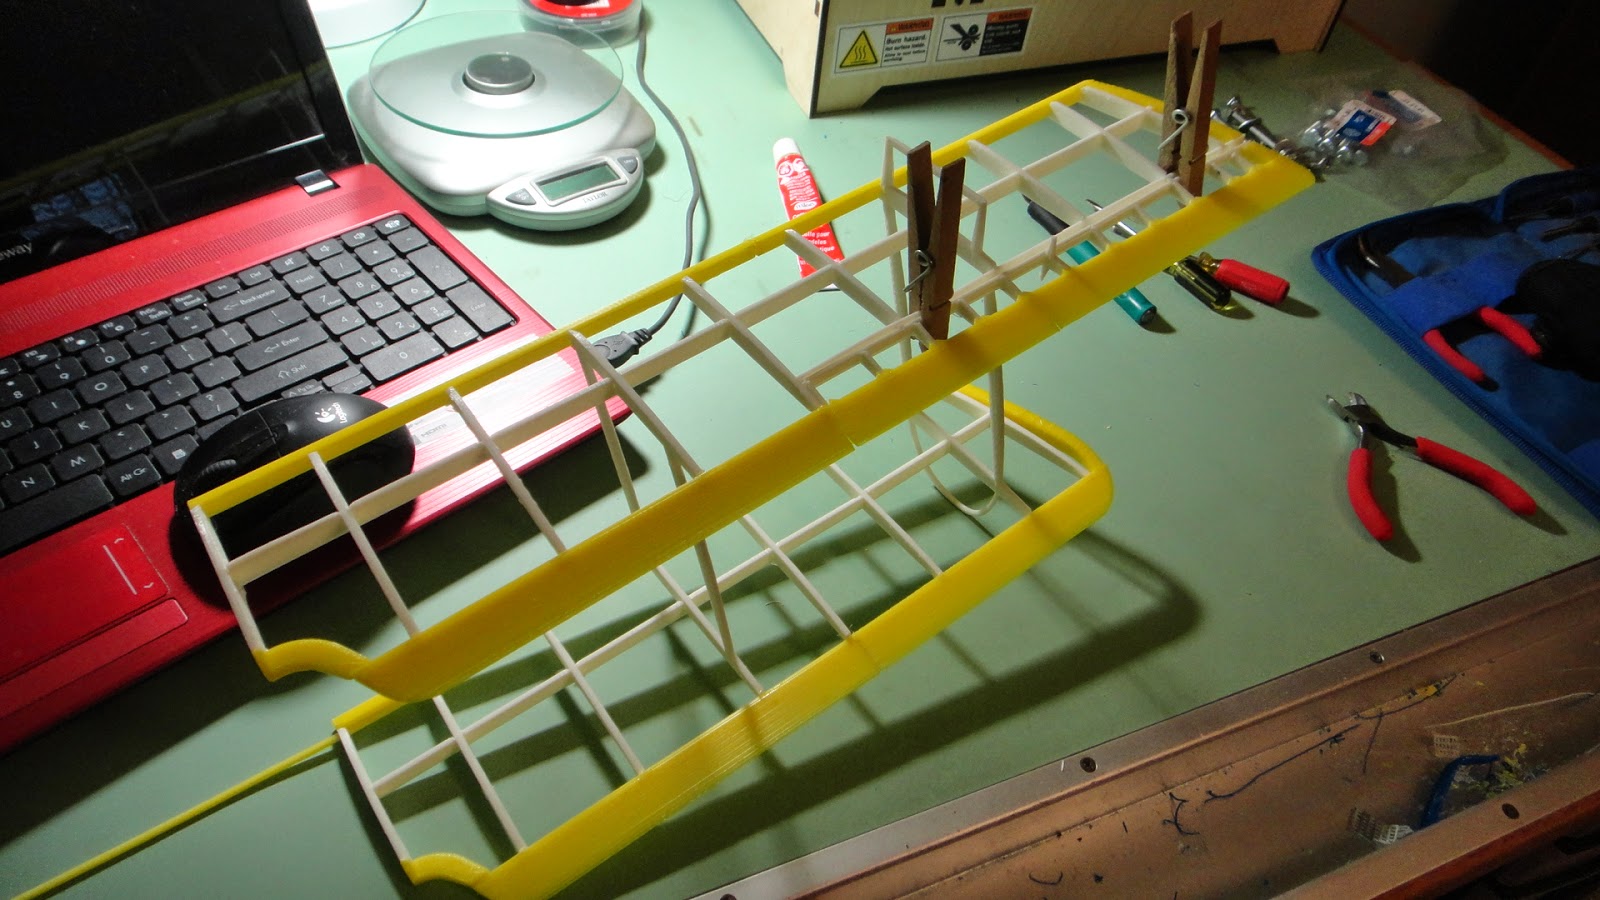
The last big task was to join the two wing halves together. This took a little time and a few more clothes pins to hold the now three foot long assembly together until the glue had set properly.


Here's a couple shots of the finished fuselage and the wing assembly together. The next big step in the assembly of the model will be to get these joined together. The upper wing will be glued to the fuselage wing struts and the lower wing will be glued to the lower sides of the fuselage. Again it will probably take a few more clothes pins and a steady hand to get it to line up properly. So far I am pretty happy with my efforts. After this has been completed all I have to do is add the landing gear and lastly the radiator and the propeller. Should look nice in my workroom when it is done. Enjoy the photos and keep tinkering!
No comments:
Post a Comment