Wednesday, July 16, 2014

One Year + 600 Hours Work = One Velomobile

YES! My velmobile is completed!


 After one years time and 600 hours of designing and building I officially declared at 7:00 pm tonight that my Radius T-T velomobile project is completed.  It has been a long and fun process to create what you see here.  For those of you who do not already know the name Radius T-T comes from radius being the rounded shape of my design and T-T being short for TerraTrike which is the recumbent trike that is the heart of the machine.


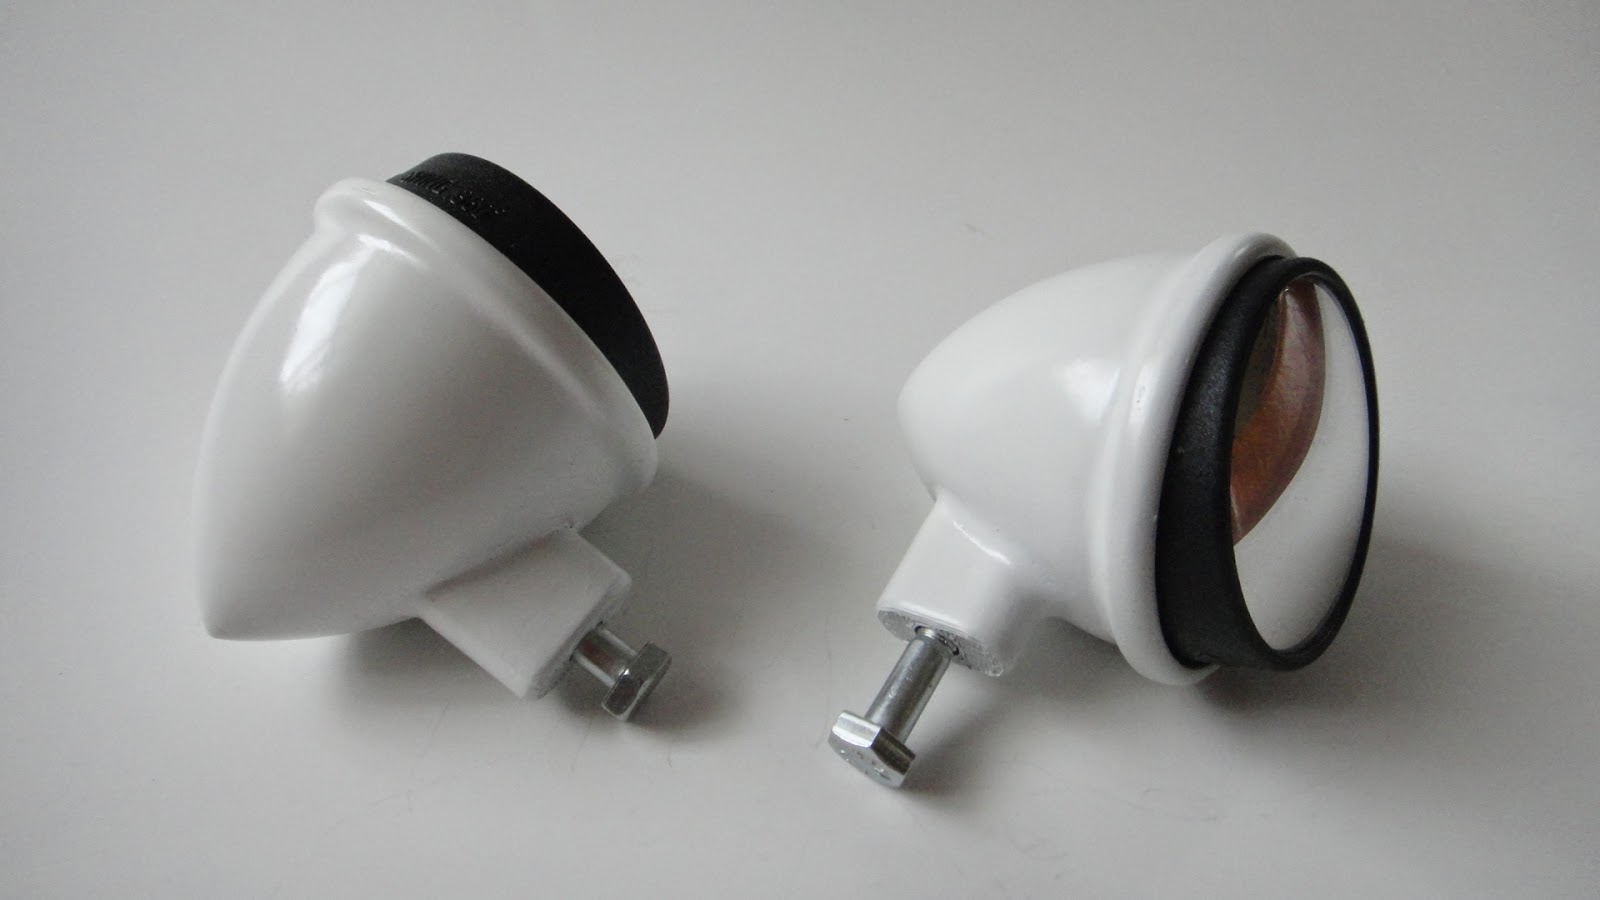
I spent last night mounting the body to the chassis, mounting the hood to the body, installing the windshield, and mounting various locking straps and check straps to the interior of the velo.  By nine o'clock I was done in for the day so I called it quits until this evening when I installed the rear view mirrors and finally put my tools away once again and grabbed my camera.


The paint as you can see from the photos turned out beautifully.  Hard to believe that this paint was not sprayed on but was brushed on.  I love the gloss and the whole paint scheme turned out great.  I really like the little mirrors being a useful and great looking addition to the velo.


I took all kinds of photos tonight of the velo and this one stood out as a keeper.  The body of the velo has a very clean smooth shape and this photo shows that off nicely.


This is what the velo looked like last September.  Hard for me to imagine back then that it would turn out like the photo below. 


My velomobile is 8 1/2 feet long, 37 inches tall, and 36 inches wide.  I weighed the body before I mounted it to the chassis of the TerraTrike Tour II.  The TerraTrike weighs 35 lbs by itself.  The body weighs another 45 lbs with absolutely everything that you see on it.  So I am happy that I got the weight pretty close to my target weight that I wanted and looking as good as it does.  
  Now once I get some free time I can start doing some test runs with it and getting any bugs out of it should they show up. I know the neighbors have been lining up waiting for me to roll it out of the garage after all of this time to get a look at the finished product.  It will be a show stopper in my little town that I live in.  
  First stop will be the police department in town.  I know for sure they will pull me over just to find out what the heck it is that is cruising down the main street.  I know I would do the same if I saw something like this and didn't know that it was human powered.  Will be interesting to see the look on their faces when they take a look at it. As soon as I can get a video camera operator I will shoot a short video of it running around.  Should also be interesting to see.  In the mean time enjoy these photos.

Sunday, July 13, 2014

Velomobile Mirror STL Files And Instructions Now Are Available


With the massive amount of interest and email I have received over this past year about my velomobile project I have decided to make available to all you velomobilist (is that a word?) out there that I am offering for sale the STL files and instructions to make your own rear view mirrors for your velomobile project. Sorry I'm not about to make plans for my velomobile itself.  That would take another year  at least just to figure out how to put that all together.  But at least you can make the mirrors that you have been looking for.

    
These files and instructions can be purchased on my Projects Plans and  3D Printer STL Files link on this site for only $5.00.  To make a set of mirrors you will need to have a 3D printer, purchase simple to find hardware, a set of two inch blind spot mirrors, and paint.  In the easy to follow instructions you will be shown how to assemble the mirrors and mount them on to you velomobile.  Place an order for the STL files and instructions and make your payment using PayPal.  Once I receive confirmation of your payment I will send you an email with the files that you ordered.  Fast and easy and usually orders are emailed out within a couple of days.  So if you have been searching for the right mirrors for your velomobile project now is the time to place an order. 

Saturday, July 12, 2014

Big And Little Tweaks For Final Assembly Of The Velomobile

My last post I spoke of the problems that occur from time to time in any project.  With the velomobile project I have been fortunate enough to not have to many stumbling blocks that held up progress.  In the past couple of days I have finally ironed out the kinks in the signal light assemblies and got everything up and running properly.  So it looks like I am on the down hill slide as far as this project is going (I am keeping my fingers crossed).  With that in mind here are a few more photos of what I've managed to put together over the past week or so.


In the interior of the velomobile are two control boxes (one on the left of the seat another on the right) to activate the signal and emergency flasher lights. The right control box holds the battery pack for the lights that can easily be removed when need be for replacement.  


  The photo above shows all of the wiring that needed to be place inside the left hand control box along with two signal light controllers.  The 12 volt battery pack is standing next to the stool on the floor which was placed in the right hand control box.  It took me several hours to sort out the wiring, solder all the connections and test everything.  Then stuff it all into place in the velo.  I was lucky I worked out the wiring diagram beforehand otherwise it would have been a real nightmare to figure out.


From the control box all the wiring is placed into plastic conduit and is fed up to the front and rear lights.  This layout makes for a nice clean look inside the velo.  I designed the clips for the conduit to be able to mount on to the inner ribs of the body and made them using my 3D printer.  The plus side to that is if I should have a conduit clip break I can remove it and make a new one in short order.


Here's a shot of one of the front signal light just as it was flashing.  At this point I breathed a sigh of relief as just this portion of the build was one of the more nerve racking assemblies to put together.


Another assembly that I finished up today were the rear view mirrors for the project. Early on in the designing of the velomobile I knew that I wanted rear view mirrors.  I could have used them when I was driving my TerraTrike recumbent so it was a no brainer to have them on the velo.  I originally was planning on painting the velo bright yellow but opted to go with the red and white  paint scheme and in doing so the yellow 3D printed mirror assemblies (photo  above) needed to be redone. (See Sept 2013 post for more info about the mirror assemblies)


I assembled the mirrors and then used epoxy micro-balloon micture to smooth out all the seams. Once that had dried I sanded the bodies of the mirrors using 600 grit wet/dry sand paper to get them as smooth as possible. When I was happy with my efforts I painted the mirrors with primer.  Sanded everything again and got this very finished looking mirror assembly after a couple of coats of gloss white paint. The mirrors themselves are two inch blind spot mirrors that you would normally use on your car or truck.  The mirrors are angled when mounted and can be rotated to any position you like.  This will make it a lot easier to line up the mirrors once I have them located on the velomobile.


This photo show approximately where the mirrors will be mounted on the velomobile body. I really like the look of the white paint on the mirrors as they will match nicely with the white striping on the body.  I won't mount the mirrors in place until I get the body back on to the frame.  Then once I am in the driver's seat I can see where they will best be placed. 
  With any luck I will have the body back on to the frame some time this week.  Again I am keeping my fingers crossed.  Once I do get this project wrapped up I will shoot some video to show you how it all turned out and give you a better idea of how large the velo is.  In the garage it looks big but I know once I get it outside next to a regular sized car it will look tiny.  Either way with the bright paint, signal and brake lights, along with a nice loud horn I will feel a lot safer with it on the street.  Stay tuned as the end of the build portion of this project is near!