
As I get older I find some things in my life just a little more than irritating. Not with life in general but with the fact that I am getting older and my body is not as young as it used to be. I will be celebrating my 61st birthday in a couple of days and with my advancing years comes things like aching legs from to many hours in my workshop, to my eye sight that I will have to correct once again with a new pair of bifocals. So the project that I completed today will help me eliminate an eye problem that I have been putting up with for some time now. With having to wear bifocal glasses it becomes a problem at least for me when I try to read something at the top of the screen on my computer monitor. See the photo below.

Here I am as usual having to crane my neck to see the top of my computer screen clearly while wearing my bifocal lens glasses. Sure I could raise my chair so I would look more straight ahead but then I am so high up it makes it difficult to type anything on the keyboard.

After doing some research online I came across something that I thought would work for my problem. These computer desks are set up so that the teacher and the students can see one another over top of thier computer monitors which are recessed into the desks. Anyone using this type of desk has to look down to view the monitor. Perfect for what I need!

I immediately went to work using my CAD software on my new modifications that I wanted for my desk. I could not modify my original desk top as it would have been more difficult to complete than starting from scratch. So I would make what you see in the image above. The monitor after having removed the stand it is normally mounted on would rest in a cavity built into the desk top and still be able to use the original platform for the keyboard and mouse. The trick was making the cavity fit in between the rails for the sliding keyboard platform.

I started with the triangle pieces for the desk cavity as I thought they would be the toughest to make. I was luckily wrong in assuming this as in no time at all I had what I needed for the project. I put more than enough pocket holes in these parts but I thought it best for a little overkill to rule out any chance of structural failure. Not a good thing to see you computer monitor come falling through your desk.

Here the desktop is assembled. I cut a large section of the aspen wood panel and then attached another piece to it to make the opening for the desktop cavity. Notice how the opening is not centered. This had to be this way to mount correctly into my "L" shaped computer desk and allow the platform for the keyboard and mouse to work correctly.
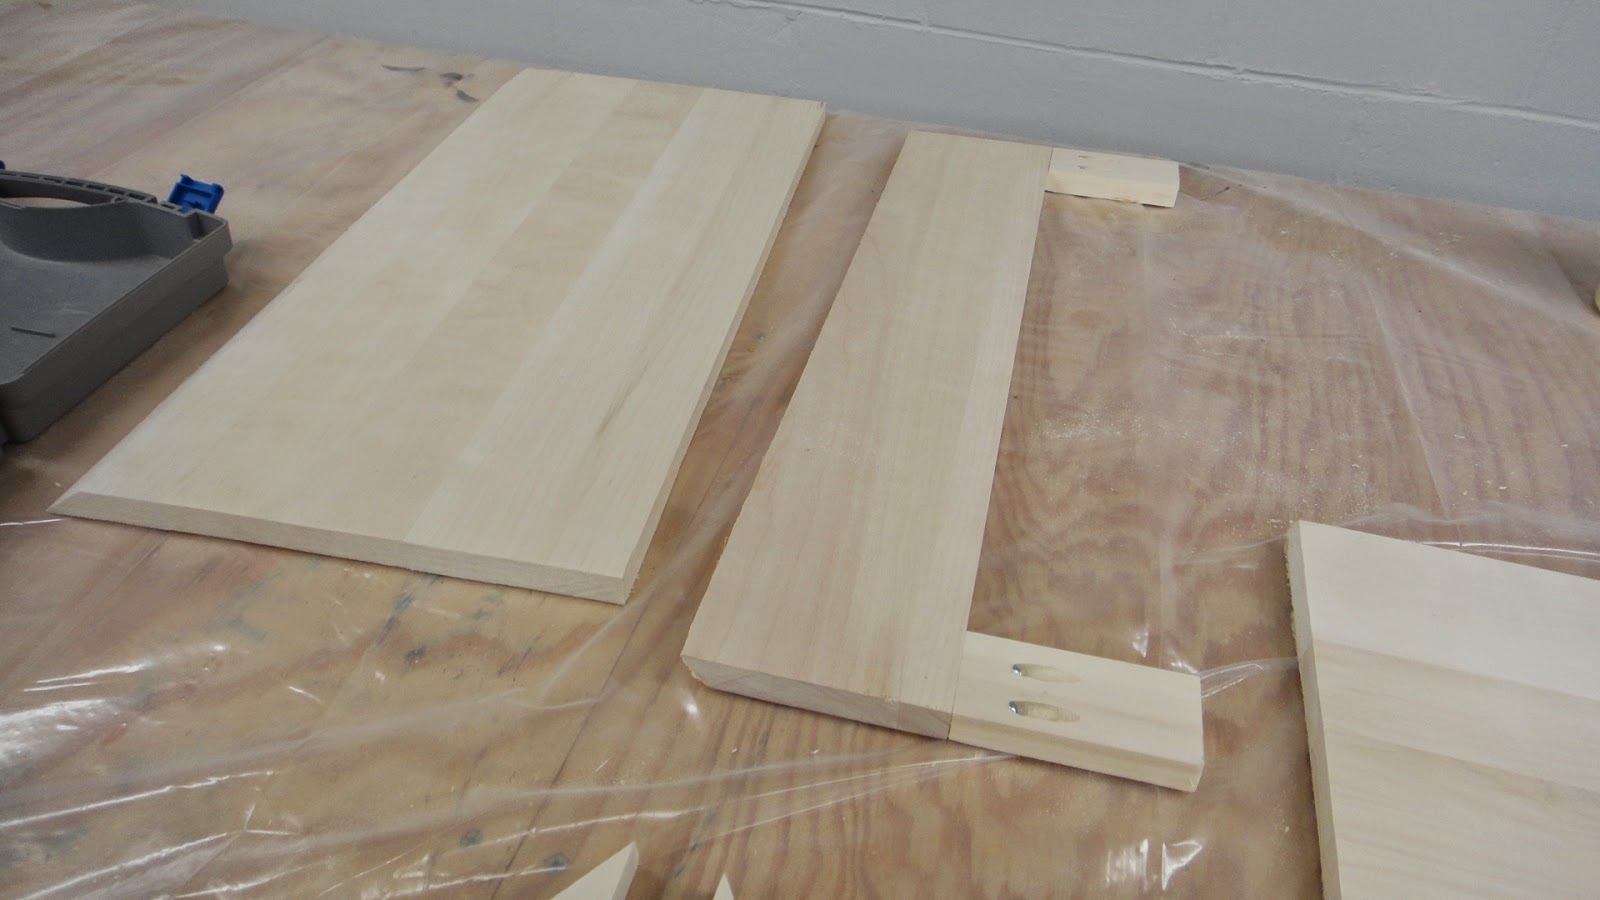
These two pieces make up the inside of the desktop cavity. The "C" shaped piece will be used for the back of the cavity and the other piece will make up the base of the assembly. Both of these parts needed to be cut so that the edges would fit flush with the undeside of the desktop. Thirty-five degree angles on each to be exact.

Here the triangle pieces for the cavity are being lined up for assemlby to the face down desktop.


A special clamp from the Kreg company is used to hold the triangle pieces in place until the mounting screws can be installed. Kreg makes the jig that makes putting in pocket holes a simple task and is a great tool for this type of project.

Next the base board is attached to the assembly using wood glue, screws and pocket holes. At this point in the project I am more than happy that everything is lining up nice and straight. With the pocket holes on the inside of the cavity the outside of the desktop looks really good. The pocket holes in the rear will not be seen once the assembly is installed back into the desk.


The next step in the assemble was to varnish the desktop with three coats of polyeurathane. This was a simple task and only took a couple of days to get a nice clean smooth finish.

To mount the desktop to the legs of the table I needed to install the threaded inserts that were in the original table top. I removed these inserts and then used a 5/16 drill to make the holes needed for the installation of them into the new desktop.

I placed the assembled desktop onto the leg assembly of the desk and then marked where I needed to drill for the threaded inserts. The trick here was not so much marking the holes but drilling them. The assembly at this point is kind of large and awkward to handle while trying to drill holes using my drill press. I took my time and as you can see the installation of the threaded mounts turned out perfect.


I also marked the mounting holes for the platform for the keyboard and mouse while I had the desk upside down. It was then just a simple matter of screwing this assembly to the underside of the desktop. The clearance for this assembly and the desktop cavity was close but not impossible to make work. Not a hassle to get put in correctly.

Here the new desktop is resting on my kitchen table. The desktop measures 27 x 33 inches and is nice an solid.

I had filled the pocket holes on the triangle cavity pieces with wood putty before I did the varnishing just to see it it would look ok. That is the word for it.... it's just ok. So I went with plan "B" for this portion of the build.


I lined the inside of the desktop cavity with a some vinyl carbon fiber that I had left over from an earlier project that I had made. The installation of the vinyl gives the desk a really nice finished look and was not really difficult or time consuming to install. A great look to be sure.

Here is the section of the desk that will receive the new desktop. Luckily the legs of the desk stand up by themselves and so getting everything to line up properly was a piece of cake.

This is one of the flanges that or on the top of each leg of the desk. Machine screws are inserted through the holes in the flanges and then into the threaded inserts on the underside of the desk that I and installed earlier.

Here the new desktop is ready to install. I placed the new desktop into it's correct position and the mounting hardware slid right in nice as could be. No fuss at all.

With everything hooked up my computer is back up and running again. All I had to do is place the monitor into the desktop cavity and plug in the cables through the slot in the back. Very simple installation to say the least.

This gives you a much better idea of how the project looks while being used. It was another great project that I've been wanting to do for a very long time and will be a pleasure to use for years to come. Now I can let the dust settle once again in the workshop and give my neck a rest as well. Oh and by the way I'm getting my eyes checked for new bifocals next week. Enjoy the photos and the post.
This is just what we're looking for ! What CAD program did you use? SketchUp? Also...how did you make your plans list and "blueprint" go-by?
ReplyDeleteThe software that I use most of the time to design the projects that I build is called ProEngineering or Pro-E for short. I also have used Inventor software which I currently need a new copy of. Both of these programs are industrial grade high end engineering software programs (aka known as expensive) so I consider myself lucky to own copies of them and know how to use them. Both take years to learn. I create drawings and plans list from the designs that I come up with from this software. I am assuming that is what you were asking. Not sure what you meant by the word go-by.
DeleteDave, I used to have one of these desks back in the late 90s. They sold them as office desks everywhere. I loved it and sorely miss having one at work. My neck just kills me from the non-ergonomic set up I have to use. I can't find them at office furniture stores Or online anywhere. I only see the classroom style and it appears recessed monitor desks aren't being made for general office use any longer. How much should I pay to have someone locally make one like yours for me? Thanks Dave!
ReplyDeleteHello Tracey,
DeleteI was lucky enough to have a computer desk in the first place that was a simple modification to make it into a recessed desk for the monitor. There are not a lot of extra components that are needed for the recessed portion of the desk so the cost should not be much higher than any other computer desk. It all varies on what design you have for a desk to start with and who builds it. All builders are not the same as I am sure your aware of and their fees vary just as much as the quality of their work. So it is not possible for me to give you a dollar amount that it would cost for a desk like mine. Show whoever you plan on getting a price from photos of what I've made so they understand what you really want and need. Also make sure that you have a computer monitor that can be set up for this desk. It will make things a lot simpler for you in the long run. Thanks for the email.
This is a great service you are doing by sharing these plans. I have degenerative disk disease and my neck is a mess which means stiffness and pain. I've been hoping to build/modify something like this but couldn't find plans until you posted this. Thank you so very much for your time.
ReplyDeleteOne thought - if someone needs a basic desk to start with I see them daily in the free section of Craigslist. Local publications, yard/garage/tag sales might be good also.
Thanks again!
Chutz
Well, Thanks for sharing such a informative content with us.
ReplyDeleteComputer Desks & Computer Tables & Standing Desks
Oh my god, you inspire me to have a better desk, I'm going to order one desk like this.
ReplyDeleteBut sadly, I don't see any demand on this table yet none is selling this table. Luckily China ships worldwide, and I'm able to purchase over there!
Thanks a lot man!
Could you possibly share where you were able to purchase this desk. I write all day and my neck is killing me.
DeleteHugo Mac Its Mark Chadsey I can be reached at mchadsey@brockport.edu would love to find out where you were able to purchase the desk.
DeleteAwesome Blog And I Have Read Your Blog Its Fantastic And Very Useful Post Thank You For Posting And Sharing With Us.
ReplyDeletecomputer tables online.
Hi, I saw your project and loved it. I want to make something similar, but I want to make the computer monitor hideable. I can design a complete desk, so I am not constrained physically. Any advice?
ReplyDeleteHello Manu1031,
DeleteI'm glad you like my computer desk. It is one of my better efforts and I use it every day. I have been thinking about your idea to have the same sort of desk with a hideable monitor. Sounds like a great project. There are two ways I can think of how to make this work. The first one could be made the same way flat screen TV's are hidden in a living room. They are mounted into a cabinet and with a push of a button it raises up out of the cabinet for viewing. It would take some sort of motor drive setup to lift the monitor up for viewing but it would not be impossible simply because a flat screen monitor is very light weight compared to a big screen TV. The second idea would probably be simpler and cheaper. I remember as a kid being in grade school sitting at my desk. The desk top lifted up and inside the desk is where you stored your books, pencils, paper, etc. You could make a desk similar to this but instead of storing the school supplies in your desk the monitor could be either attached to the underside of the desk top and then flipped open to the correct angle for viewing or have it in a special mount that would tilt up to the correct angle once the desk top was opened fully. Would be an interesting project to figure out either way. If you do get it built let me know I'd like to see how you put it together.
Your work is very good and I appreciate you and hopping for some more informative posts. Thank you for sharing great information to us. high brightness monitor
ReplyDeleteWhat an innovative concept! The recessed computer monitor desk seems like a brilliant way to maximize both workspace and aesthetics. By seamlessly integrating the monitor into the desk, it not only saves space but also creates a sleek and clutter-free environment. This design could be a game-changer for anyone looking to enhance their productivity and modernize their home office setup. I'm excited to explore this idea further and potentially incorporate it into my own workspace. Thank you for sharing these valuable insights
ReplyDeleteHello Dave I wonder if you could share the dimensions and angle of the triangular pieces. What size monitor were you using?
ReplyDeleteYou did a fantastic job on this desk .
Thank you.
industrial monitor mount
ReplyDeleteCool desk
ReplyDeleteyou could have uses 1/2 the amount of screws
ReplyDeleteIs this desk available for purchase?
ReplyDelete