Friday, December 28, 2012

The Bob-R Hat.....A Hat For A True Fisherman!

The Christmas rush has finally come and gone and I am now able to get back to the blog and post something that I have been waiting to show everyone since last September.  I created something special for a close friend of mine who is big into fishing.  I am not but I knew that he is and so the idea for the gift was born.
    In the Midwest everyone knows about Wisconsin and the state being the dairy state. With that also being famous for cheese.  I know this very well as having grown up in this great state and once again living in it.  Along with the famous cheese, Wisconsin has also created what else?  The cheese hat of course!  With that thought in mind I put a twist on the hat idea and created a special hat of my own for anyone into fishing.  I call it the Bob-R hat. 


Here my friend Garry is happily modeling my creation that I made for him for Christmas.  With this post I will show you how I put it all together.


I had to create the top of the bobber button first in my computer.   This will make more sense as I progress with the photos in this post so bear with me.  


The red disk was printed on my Makerbot 3D printer and then bonded onto a styrofoam cylinder.  After the epoxy had cured I wrapped the assembly with a couple layers of fiber glass cloth and resin, let it cure over night and sanded smooth everything smooth.


Next work began on a styrofoam hollow half sphere that I found at a craft store. After fiber glassing the outside of the dome I made a cut out to receive the bobber button. 


 Next I created a fiberglass ring to insert into the cutout for the top of the dome.  This was made by wrapping the bobber button with plastic wrap and then laying down a couple more layers of fiber glass cloth and resin for a perfect fit. 


 This ring was slid into the cut out in the dome.


 The inner portion of the cavity was then filled with fiber glass resin and a micro-balloon mixture.  This mixture was poured into the cavity and then left to cure over night.


 After the resin mixture had cured I trimmed off the excess portion of the ring to make it flush with the top of the dome.


The bobber button was then inserted into the dome to double check the fit. 


Along with the button a brass ring needed to be added to complete the look.  This ring was created by taking a brass rod and clamping it into a vise with a one inch steel pipe.  With it being clamped in place I only had to take the rod and bend it around the pipe.  I then cut it to size using a Dremel tool and inserted the loop into the two holes that were modeled into the red disk. 


These strange little pieces were created on the Makerbot 3D printer to hold the head band into place inside the hat.  This took about three tries to get the shape just right but it was worth the effort.


 The bobber button was then wet sanded several times and painted in gray primer.


 The mounting blocks were bonded into the inside of the helmet and left to cure over night once again.  Then the first coat of primer was sprayed on.


Several more coats of primer later and a lot more wet sanding and the dome is near ready to be painted with several coats of gloss white paint.


The button for the hat was painted bright red and turned out perfect.  


Once the paint had cured long enough I was able to reinsert the brass loop for the top of the button.  Check out the gloss on the paint.  I'm getting this painting fiber glass thing down pretty well.  This is where all the wet sanding pays off in a big way. 


The hat is also wet sanded and painted with primer over and over until the surface is super smooth.  It doesn't look pretty here but the effort put into the hat at this point like the button pays off later.

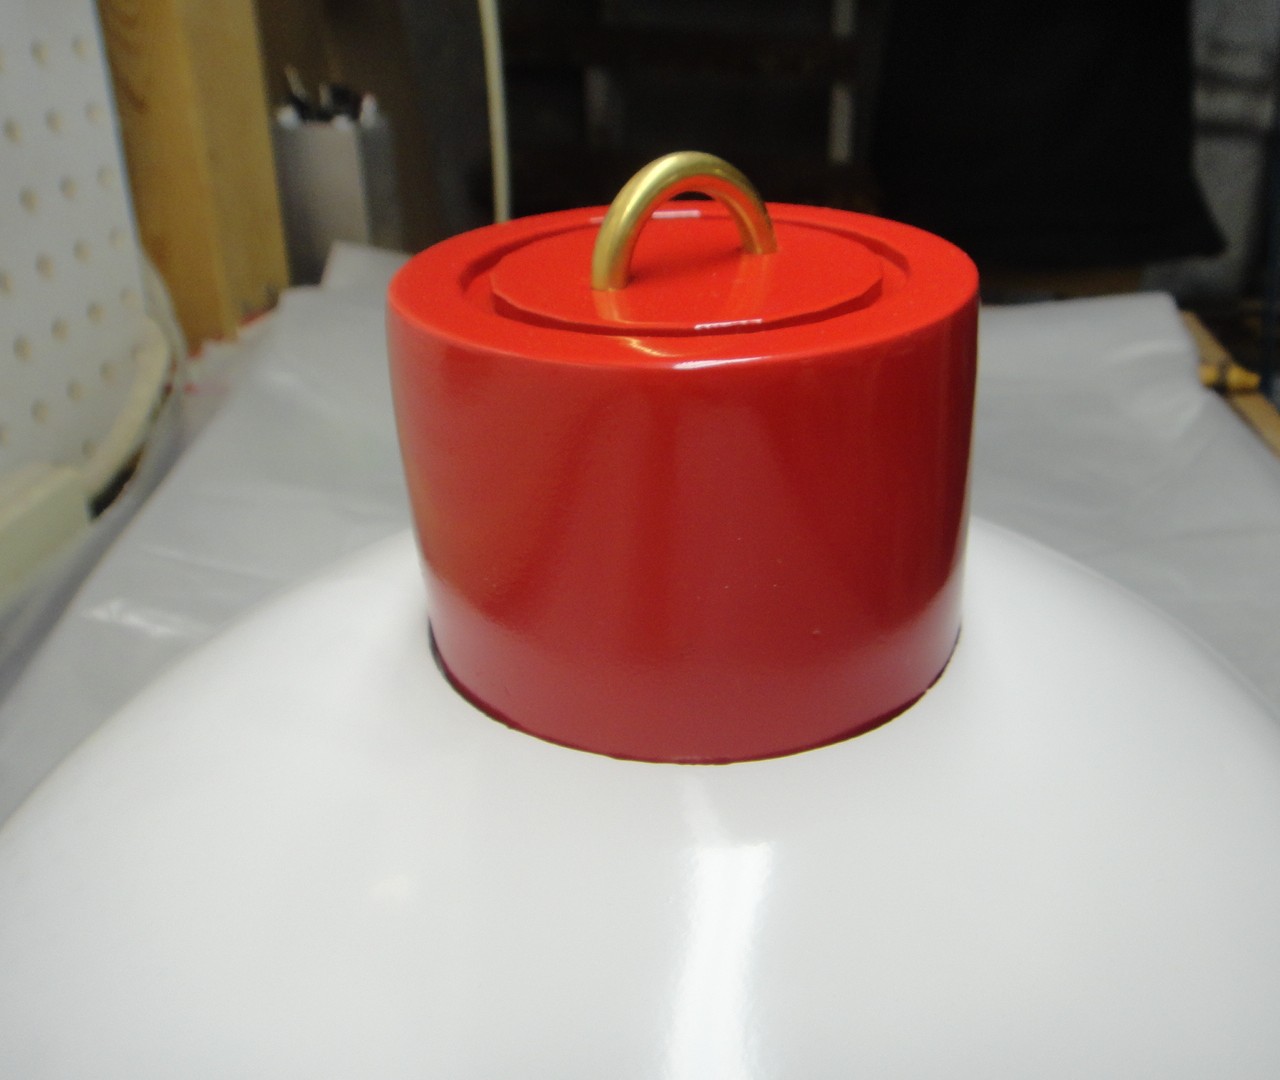
 Here the inside of the hat has been painted bright white with at least four or five coats of paint.


After the white paint had dried on the dome for a couple of days I was then able epoxy the red button into the top of the hat to mount it securely for good.


 An adjustable headband was next inserted into the mounting blocks inside the helmet.  This makes the hat easy to wear and will actually keep your head cool in hot weather. 


The finishing touch to the Bob-R hat is the decal that I designed for  the back.  I had this made for the helmet by a car place that makes decals for cars.  They were more than happy to work on something different. It really makes the helmet stand out that much more.  As if it needs to stand out any more than it already does.  


Here is a video I shot of my friend Garry opening up his very special gift.  The reaction to his present made the project all worth while.  As usual here at the Tinker's Workshop I tend to design and build some pretty interesting projects. This one has got to be one of the most "Different" kind of projects to be sure.  Interesting and different in the same breath.  

Thursday, December 20, 2012

Merry Christmas To All My Readers


  2012 has been quite a year for me here at the Tinker's Workshop.   Some great projects have been created,  I managed to survive a terrible fire at my home and have now moved to a new home which I am setting up a new workshop that any tinker worth his (or her) salt would love to own.  
  So good news has come with the bad news from all that has gone on this year and that is not always the case. I consider myself lucky  in that respect.  One thing has remained constant throughout this year and has brought me great joy and a laugh or two along the way.  This has been all of my faithful readers of my blog. The blog is growing daily and it spurs me on to continue working on improving it and the projects that I develop and write about.
   I have received a lot of support throughout this past year  from all my readers. All the great comments that have continued to pour in from around the world about the projects and plans that I have posted on my blog make the effort worth while.    
  So I thought it best to say  thanks to everyone before the holidays get any closer.  You have once again made my year a good one.  Especially with all that has gone on.  It means a great deal to me and with that in mind I wish to say thank you for another great year and I wish all of you a very Merry Christmas and a joyous New Year.  

Sincerely,  

Dave Langkamp

The New Tinker's Workshop.... A Work In Progress

Since the blizzard here in the Midwest has me snowed in today I thought I would post a couple more photos of the work that I've completed on the new Tinker's Workshop.  


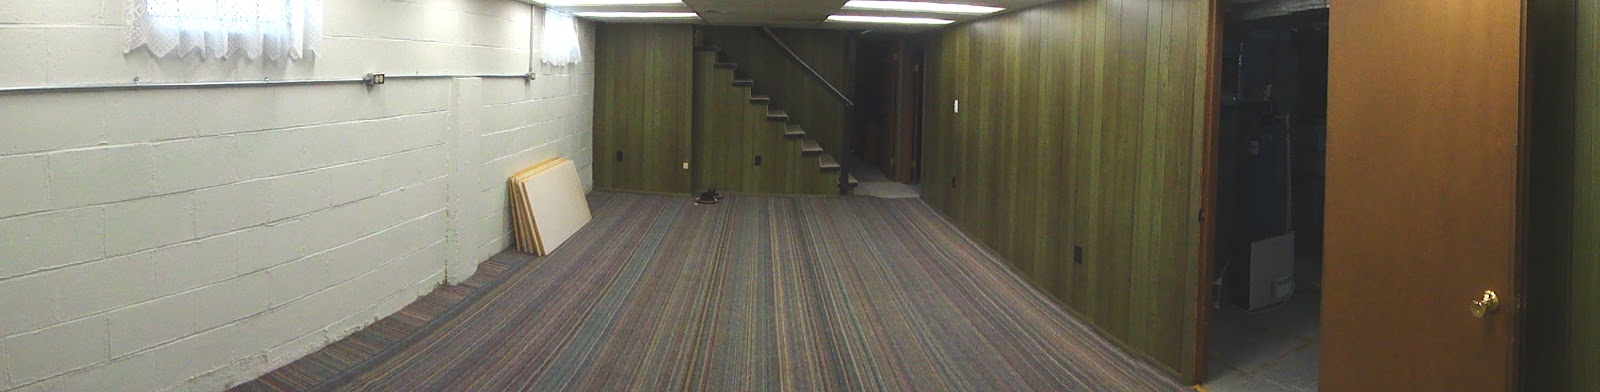
The ceiling panels slid into place without a lot of hassle so here is how it turned out.  I know that the green paneling is disgusting and that will be on the list of things that will still need to be changed in the workshop along with the removal of the carpeting.  Luckily the carpet had not been glued to the concrete floor so this will be an easy task to just roll up and drag out.


These panoramic views of the workshop give you a good idea as to how big the new space really is.  It will really start taking shape once I can get the wall and new doorway by the steps put in and the double door at the other end of the shop.  Step by step I'm getting closer to my dream shop.

Tuesday, December 18, 2012

I Can See! I Can See!

Work has been progressing nicely on the new Tinker's Workshop with the installation of the badly needed lighting over the past couple of days. Here is a re-post of an earlier photo to show you what a difference the lighting has made to the work space.  

 
This is the original lighting in the space....YUK!


Now this is lighting!  I went from one single double florescent light fixture to ten!  What a difference.  Believe it or not the doorway on the right of the photo goes into the rest of the basement and the lights are on in that room. Really!  That space also will be updated with more lighting so I can see where I am going in that part of the basement. 


The next step in the build will be to put the ceiling panels back in place along with translucent panels where the florescent lights now are mounted. This should spread the light around the room a bit more evenly. 


The lights were originally going to be hardwired into the electrical grid but this was discarded as it would have actually made more work and difficulty in putting it all together.  Just much simpler just to put up five electrical outlets to plug in the ten lights in the workshop.   The lighting was also split up so that only four lights could be turned on, or six or all ten at the same time.  Makes for a savings in power usage when not all the lights are need to be turned on depending on what I want to work on in the shop.  


Three additional outlets were also installed in the shop on the outer wall of the workshop to make a grand total of eight.  This was done using 1/2 inch electrical conduit which houses the wiring for each outlet.  The outlets were mounted on the wall using drilled holes in the concrete and plastic inserts and screws to hold it all in place. The power was run across the ceiling down the wall to one outlet, then onto two more outlets horizontally across the wall.  Then another power line was sent back up to the ceiling where it terminates.  This was done for future connections if I choose to put them into the shop.
  Along with the ten lights and eight electrical outlets, the new shop will have two doors, one regular sized and another double wide to handle moving big items in and out of the shop.  Another plus that I did not have in the old shop was a connection for a telephone.  Not that I want to be interupted while I am building something fun but there is always a need for a phone some time when you are working in the shop so it will be a nice addition. 
  Now that I have the power and lights up and running in the shop thanks to my good friend Garry, I will be able to see much better when I paint that ugly green paneled wall a nice coat of white paint.    Garry is my house expert and so his expertise is worth the little favors that I am more than happy to do for him and his family when he needs the help. It all works out in the end. 
  The carpeting will also be removed as it is totally worthless in a workshop. It won't be long before I can get back to creating something new in my new and improved dream workshop so all the work to get it together will be worth the wait don't you think?  Check back to see how it all turns out and have a good day tinkering!

Sunday, December 16, 2012

And The Shop Lights Were Hung From The Joists With Care....

In the hopes that Saint Nicholas would show up and finish the job.  LOL.   Sorry it just had to be said. 
  I finished the insulating of the workshop and the rest of my basement this week and got started on planning out the layout of the new lights for the workshop. The ten shop lights mounted between the joists with out a lot of hassle.  I like that.  Always good news when a plan comes together without much of any trouble.


Here are the pile of lights that are desperately needed in the new Tinker's Workshop.  I choose T8 lights that are more efficient.  This and the fact that they were only $10 a light was a good deal for the budget.


To mount the lights I used eyelets screwed into the inside of the joists to to hold a light weight chain.  This chain had a weight limit of ten pounds and since I needed one chain to hold both ends of the lights it would be plenty strong to do the job.


Another mounting chain was then looped over each cross chain and hooked on to both ends of each light. With this loop I then could easily adjust the placement of the light so that they would be centered in the suspended ceiling framework.   


 The cords for the lights were left hanging down at this point until the outlets can be installed to plug them in.  This will be the next task on the build along will more power outlets for the tools in the workshop.


In this shot you can see most of the newly installed lights along with one of two heat ducts that will keep the workshop nice a warm during the cold winter months.  I will have to track down a cover for the ducts so that it will finish off the suspended ceiling nicely.  This and also regulate how much heat I want to enter into the workshop at any given time.  Right now the shop is plenty warm enough to work in without having to wear winter clothing to stay warm.  So one less thing to fuss with.  I'll keep you up to date on the new workshop renovation progress as I keep plugging along on it so stay tuned for further news and photos.