
With all of the projects that I have been working on recently with my dune buggy this one has been very interesting and rewarding so far to create. My dune buggy did not have a radio installed in it but had speakers that were either mounted in very bad locations or simply could not be heard because of it's location or the radio was not powerful enough to make it work in the first place. I removed the offending speakers for several reasons other than just the sound quality being bad. The speakers behind the seats were less than an inch from the back of the seats so these were the first to go. The speakers that were mounted in the foot wells would have been ok I guess but made driving the car uncomfortable simply because that speaker took up valuable foot space. Once I removed the front speakers I was able to regain foot space for driving which in itself was worth the loss of the speakers right off the bat.
But like any other car I have owned I wanted to have a speaker setup that I could hear in the car so that I could have tunes while I was driving down the road or just being parked somewhere. I came up with the solution to this problem after I had removed the two front speakers in the foot wells.
I was sitting in the drivers seat playing with the seatbelt and had a small wireless Bluetooth speaker resting in the passengers seat. I picked up the speaker while it was playing and held it up close to the roll cage that is mounted in the car. This roll cage has two connecting roll bars that run from the front roll bar to the rear roll bar that is just behind the seats. These two upper roll bars are placed six inches apart. A perfect location for a speaker setup. I raised the small Bluetooth speaker up between these upper roll bars and thought to myself "This is where a new wireless Bluetooth speaker needs to be!". At that point this project was born.
I was sitting in the drivers seat playing with the seatbelt and had a small wireless Bluetooth speaker resting in the passengers seat. I picked up the speaker while it was playing and held it up close to the roll cage that is mounted in the car. This roll cage has two connecting roll bars that run from the front roll bar to the rear roll bar that is just behind the seats. These two upper roll bars are placed six inches apart. A perfect location for a speaker setup. I raised the small Bluetooth speaker up between these upper roll bars and thought to myself "This is where a new wireless Bluetooth speaker needs to be!". At that point this project was born.
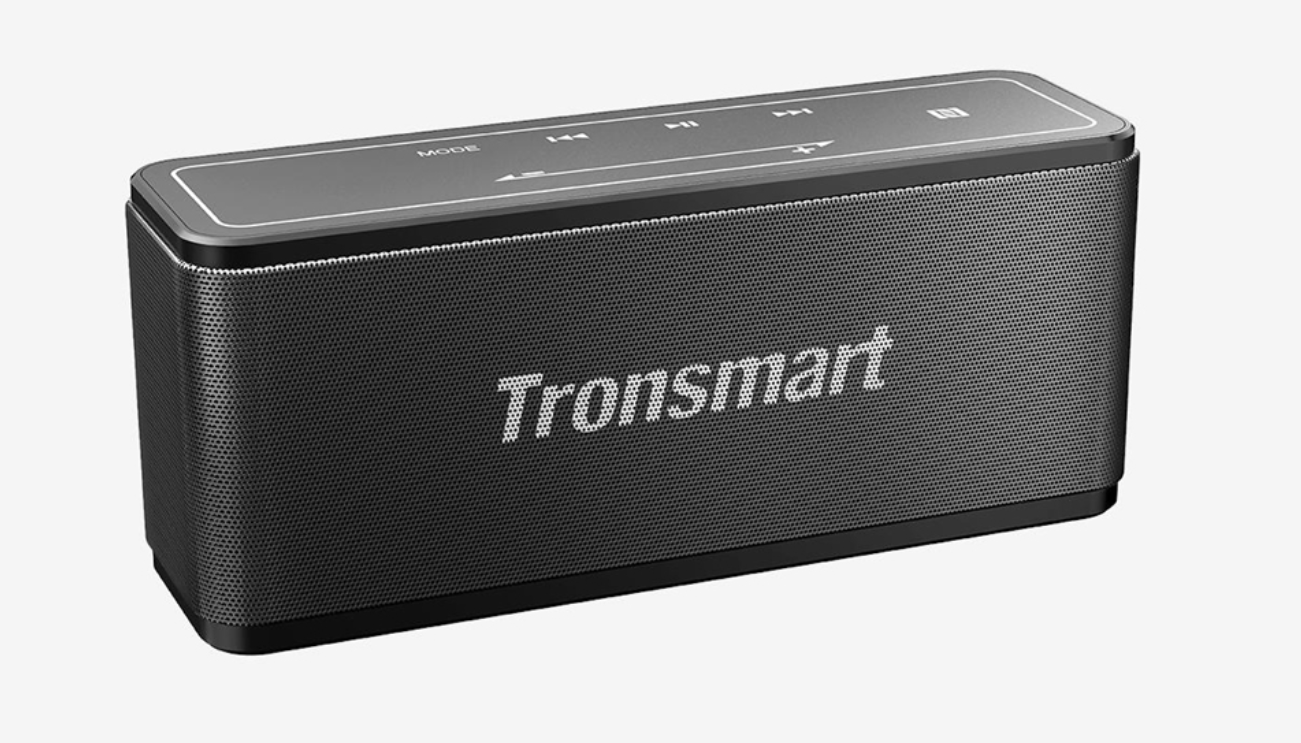

I immediately started shopping online for my new Bluetooth wireless speaker. I sifted through the likely candidates and found what I needed with the Tronsmart speaker. Wireless Bluetooth, Micro-SD card capable, 40 watts of power, 15 hour battery life, and a nice compact size that I knew would work for the project. I ordered the speaker from Amazon for around $50 and in a couple of days it was in my hands. I charged it up and synced it to my iPad. This little speaker has plenty of volume so I know it will work for cruising in the dune buggy.


As usual I dived into designing the new speaker housing for the dune buggy using Fusion 360 software. I started taking measurements of the speaker itself which is only around 7.5 inches long, by 2.25 inches wide, by 3.25 inches tall. My setup would lay the speaker down on it's face so the sound would be pointed down toward me and a passenger being as the speaker would be above our heads.


The space between the roll bars over our heads runs from the front roll bar to the rear roll bar and is six inches apart. More than enough room to mount the new speaker and secure it properly. I wanted to be able to turn the speaker on and off and also control volume, song selection, etc. from the drivers seat. Again the spacing between the bars easily made the new mount you see pictured above possible.


The speaker mount is designed so that it is bolted on to the roll cage. The lower portion of the speaker mount has a locking door that is designed to hold the speaker in place and can easily be unlocked to remove or install the speaker when it needs to be recharged after having played for 15 hours of use. The locking setup was simple enough to secure the speaker so that it cannot be stolen from the car and still can be used to quickly remove the speaker when it does need recharging.


First I started with the top housing for the speaker. Here pictured above is this housing with the mounting holes setup for it along with the arms that would wrap over the top of the roll cage when it is mounted. The little window at the top of the housing (bottom image) is needed to be able to access the on/off switch along with the port for the micro-sd card and a couple other ports for audio connections. Inside this housings cavity is adequate room for the speaker to be installed without any issues but not so large as to having the speaker move about in the space.


The lower portion of the enclosure needed to again wrap around the speaker but also allow access to the volume controls that would be facing the driver. Thus as you can see the reason for the open side of this part of the enclosure. If I had closed up this open side the controls for volume and song selection controls would have been covered up making it impossible to use.

Finally the bottom door was designed with a simple hinge (on the left) and an opening for the lock (on the right).

Stacked all together the assembly looks like the image pictured above. The hinge would use a simple 1/4" aluminum pin running through the two door mounts (in green) and the centered hinge mount on the lower housing (in yellow).

After 34 hours of 3D printing I had my housing completed. The top of the housing took the longest as this was a 15 hour long print to make. I was very happy when I completed this part of the build and that it turned out as well as it did.

Here you can see the Bluetooth speaker beside the housing with the lower door unlocked ready to install unit into it.


Here finally is the speaker installed into my dune buggy. It went in first time without a hitch. A real pleasure to have it go in so smoothly. I will pull it out of the car yet and take it all apart so that I can properly sand the housing smooth and prep it for gloss black paint. My brother had asked me why I was going to paint it rather than leave it like it is. I could go without painting it but over time the black 3D printed part would fade with it being out in the sunlight. I then would be forced to paint so now is as good a time as any so I might as well paint it now before I install it for good. With that being said that will be my next step in the process. But for now these photos will do for this posting to show you what will be in the car for this summer. Time to get the sun tan lotion ready and crank up the tunes for some serious cruising!
This comment has been removed by a blog administrator.
ReplyDelete