
Yesterday I posted info about my first attempt at making wheel covers for the TerraTrike velomobile project. I learned a few things from my first effort. Some good and some not so good. So today I am happy to show you my second and final results at making this portion of the project.

I started once again cutting out a new foam blank for the second attempt for the wheel cover using my hot wire table and some additional jigs to get the correct shape. (See yesterdays post for more info on what this all looked like.)
 |
The new wheel cover male mold had to be a bit larger and have less of a conical shape to it. I sanded the second disk into shape and puttied and sanded further until I was happy with the new shape. The new disk is the one on the left in the photo above.

I then masked off the blank with blue painters tape. One strip at a time. Luckily I was using two inch tape so this was an easy task.
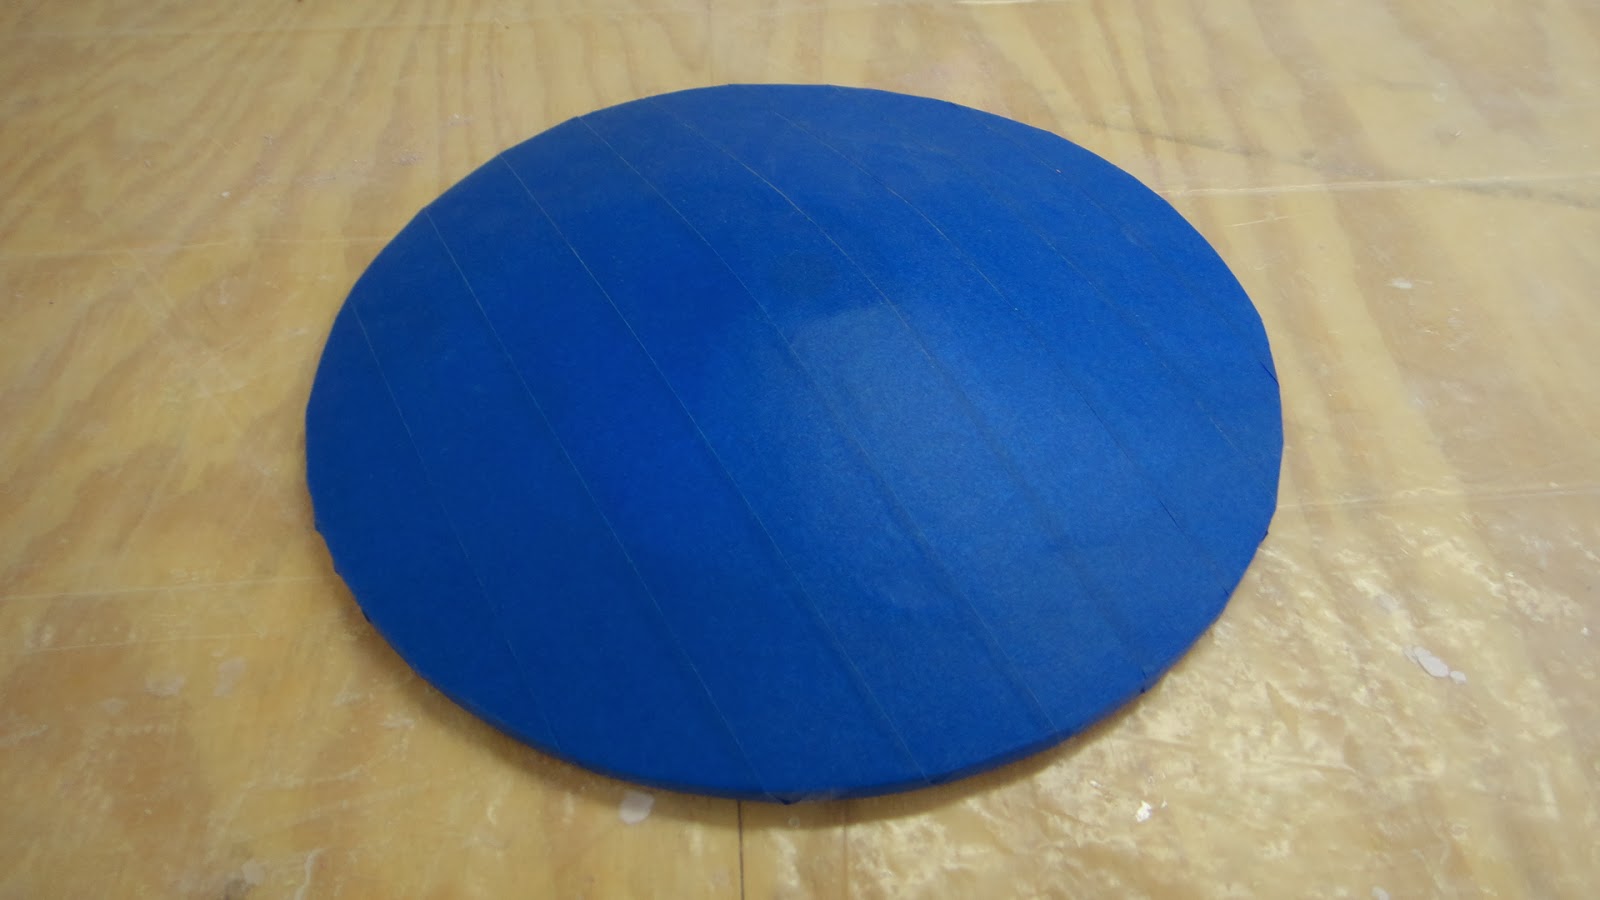
Here the disk is completely taped off. Already it looks very smooth which is a good sign. I used the masking tape instead of plastic wrap to get a smoother inside surface on the finished part. You'll see the difference in photos as you read farther in this post.

Here the male mold has been fiber glassed with two layers of eight ounce cloth and of course the resin.

Once the fiber glass had cured over night I was able to remove the new part from the mold this morning. This took a bit of effort but the end result of how the part turned out was worth it.

Here the new wheel cover has been marked with the center hole and the outer diameter using a Sharpie pen.

The difference between the first wheel cover and the second you can see in this photo. The second cover is much flatter than the first one and just a little larger in diameter. The wheel cover was cut out using my band saw and a Dremel tool for the center hole each of which took very little time.

Here is where the big difference is between the first and second wheel covers. The first cover (on the right) was made using plastic wrap over the male mold. It worked ok and was easy to remove from the mold but has a very wrinkly appearance. The second wheel cover on the left is very smooth and much more finished looking. Again worth the little bit of effort to pull off of the male mold.

Here is the end result. A newly created seamless wheel cover for one of the front wheels. It has a nice fit and will look really good once I do a bit more smoothing on the outside surface and paint it with some glossy silver paint. The center of the disk will have a ring that I will fit into the opening in the cover that I will make with my 3D printer to give it a nice finished look.
I wanted to keep the center of the wheel cover open should I ever need to take the front wheel off to change a tire. This way the cover would not have to be removed. Holes will still need to me drilled into the cover for the zip ties that will hold it on to the spokes of the wheel. I also think I will not have to cut an opening for the valve stem as the wheel can be turned out away from the body of the velomobile enough for me to attach the air pump and fill the tires. I will double check this though before I go to much further.
All in all I am very happy with the second try at making the wheel covers. All I need to do now is repeat the process for the other front wheel and I can call it good. Another part of the project that I can mark off of my check list.
Thanks for the informative and helpful post, obviously in your blog everything is good..
ReplyDeletecopricerchi
So how much faster is your ride with the wheel covers?
ReplyDelete