
It's been a few days since my last post so I thought it best that I get everyone caught up once again on the progress that I have been making on the TerraTrike Velomobile project. As I have said in earlier posts the process of putting a skin on the framework of the velomobile is a rewarding but time consuming task. Luckily I enjoy this part of the build so it does not seem to be a chore. So progress is being made no matter what.
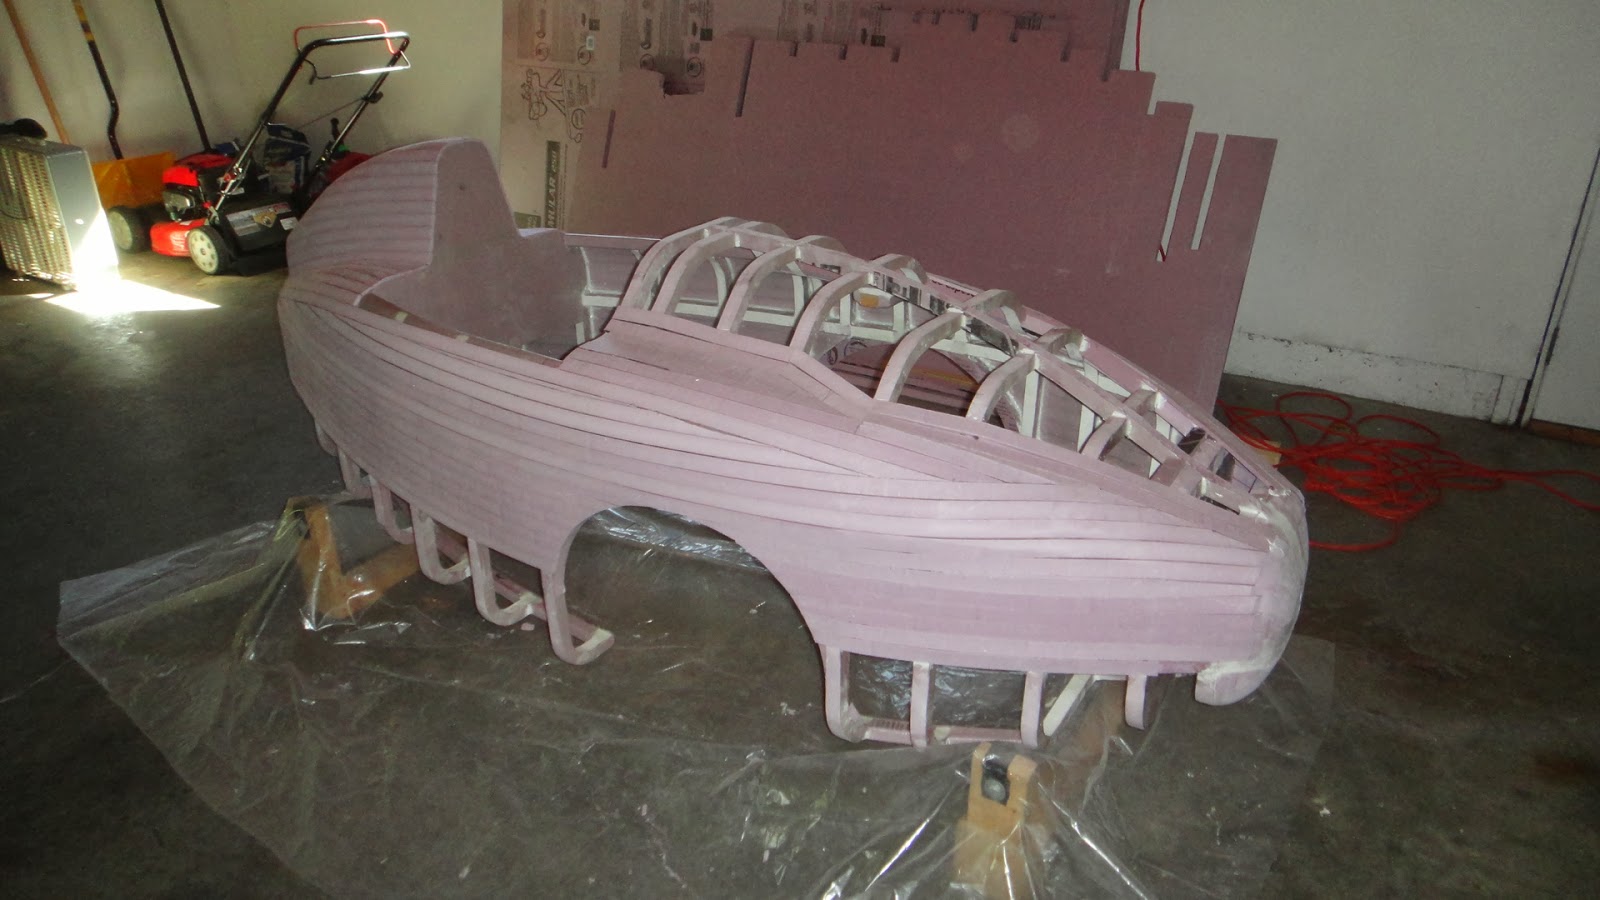
With the progress on the project that I have completed today both sides of the velomobile have been skinned to the level that you see here. The top framework that is yet to be skinned will be the hood that will open up so that I can get in and out of the vehicle. I still have to mount the hinges for the hood and then it will be cut out from the body and then skinned to match everything else.

The left side of the interior of the body has been fiber glassed at this point so that is one more step out of the way. Once I have the right side interior glassed I will then continue finishing the installation of the remainder of the foam strips on the lower portion of the body. This will be easily done by flipping the body upside down once again.

This shot gives you a good idea of the work involved in glassing the inside of the velomobile. Lots and lots of little cavities to be glassed. In the photo you can see the fiber glass cloth that has been laid in and has yet to be saturated with the fiber glass resin. All the other sections in the photo have already been completed. The resin makes the fiber glass cloth almost transparent when it has been applied.

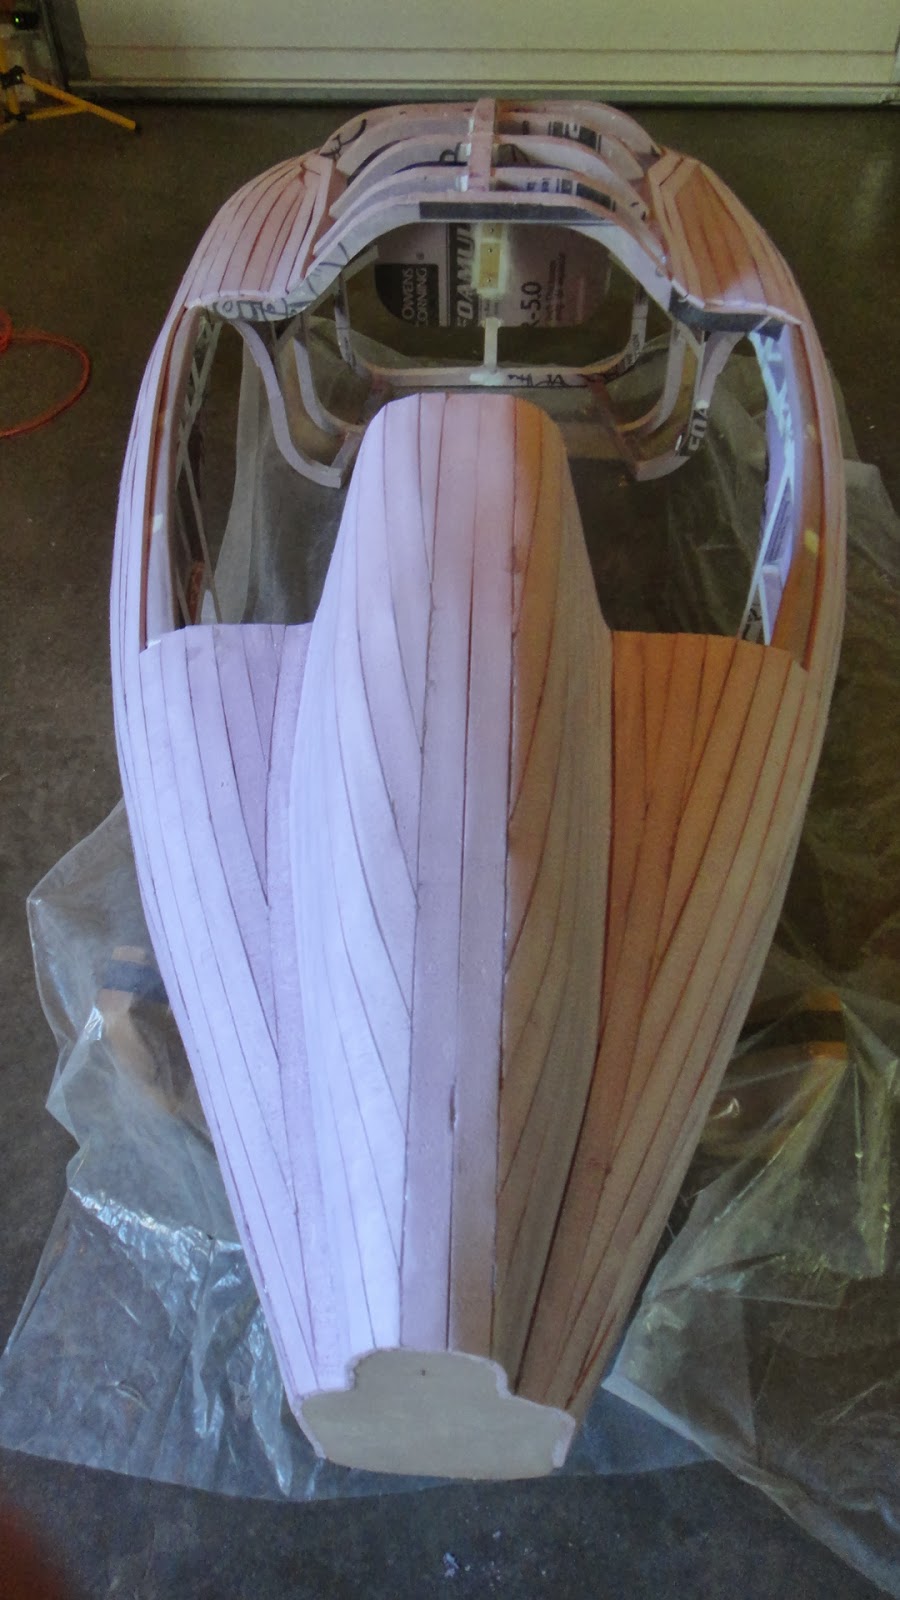
This photo of the nose of the velomobile looks pretty good. Once all of the interior glassing has been completed then I will turn to the task of sanding everything smooth and evening out the entire surface. With the foam still bare this is an easy task as long as I do not have a lot of differences from one side compared to the other. It's all a matter of sanding here and filling in there to make it all balance out.
This is a nice shot over the rear of the velomobile. I like the shape and how it's all turning out. There rear of the vehicle still will have additional foam and glass added to it to eliminate the blunt rear end that you see here. I also need to clean up the outer edges of the cockpit too. It all takes time to get it just right.

The front end of the vehicle is also still to blunt. I will build this up with additional foam to get a more rounded shape. Something that will make the velomobile slide through the air a bit more easily.

I like the look of the foam strips on the framework. That is one of the great things about applying the strips to the framework. Each strip is hot glued into place one at a time and they are very flexible so it is easy to get the nice flowing shape that I have had in mind from the start of the project.
Total hours now on the project have come up to 228. Again 100 hours of that was just for the designing of the vehicle. Not to bad really with the way it is coming together. I can rest my tools and my tired body again for the day and admire my progress. Hope you enjoy the photos.
She's a beauty! Did you weigh this baby?
ReplyDeleteHi Philip, the total weight of the body for the velo came in at 45 lbs. With the framework this total weight of the velo came to 80 lbs which is comparable to most velos on the market. Thanks for the nice comment.
ReplyDeletehow do you determine and cut the shapes of the individual 1/4" strips?
ReplyDelete