The Tin Man project is progressing nicely with primer and paint being applied to the parts this week. Hopefully I will have the project completed by the end of the week. Here are some images of where the project progressed over the past week or so and stands as of this morning.
This is the start of the construction of the body for the Tin Man. I stacked up four layers of Styrofoam and glued them together to make a nine inch tall cylinder. After sanding one edge of the cylinder I fiberglassed it completely except one end and let it cure over night. Next I marked and cut what will be the lower edge of the fiberglass body to get a nice straight edge using my bandsaw.
Here you can see the Styrofoam sticking out of the body before I started to remove all of it, This way I could have the cavity I need to mount the arms, legs, and head.
This strange looking device is what is called a hotwire. It is the tool that I used to remove the Styrofoam from the body of the Tin Man. Electrical current is fed into the device which heats up the wire to melt the Styrofoam. A great tool that I have used for years and is well worth the money.
Here I started taking out pieces of the Styrofoam with the hotwire. The tool made it as easy as scooping ice cream out of a bucket. I wrapped the Styrofoam in plastic sheeting before I started fiberglassing. This made it simpler to remove the Styrofoam as the fiberglass did not stick to the plastic sheeting. This left me with a lot less clean up inside the Tin Man body and a nice smooth surface as well.
Here the body has been completely cleaned out. If I had not wrapped the foam first in plastic sheeting I would have had a lot more clean-up to do on the inside of the body. It saved me a lot of work to be sure.
Here is a look at the 3D printed mounting plate for the hip and legs that is now installed into the body along with a mounting tube to receive the rod that will be pounded into the ground to help support the Tin Man when he is standing on display. The rod slides into the tube and will hold the Tin Man up even in a stiff wind.
I next started putting the arms together for the project. On the left you can see the first set of bolts and nuts that I used to put the assembly together. I was not happy with the look so I swapped everything out and used threaded rod and acorn nuts on most of the assembly. This took me a bit longer to make and assemble but the look is much cleaner.
Finally on to the priming and painting of the parts for the Tin Man. Here is a shot of most of the parts on the work table. The joints for the legs in the project needed very little prep work so I was able to go ahead and prime and paint these parts first.
Lots and lots of parts had to be 3D printed to make the joints for the arms and legs.
Then you have lots and lots of nuts, bolts, and threaded rods to hold everything together. In total there are 206 parts in the entire project.
The Tin Man's face is coming right along with the first couple of coats of primer. I still have a little wet sanding to do yet on this part but it should not take me very long to get it dialed in. The head of course will be painted silver like the rest of the figure.
The body of the Tin Man still will need a bit of work yet before I am happy with the outer surface so that I can spray on the paint that it needs. I'll get there but it will take a little more time.
Here the arms, legs, and hands along with the head of the axe for the Tin Man are painted and left to dry. This was the easiest part of the project as these parts needed little if any prep work to get them ready for paint.
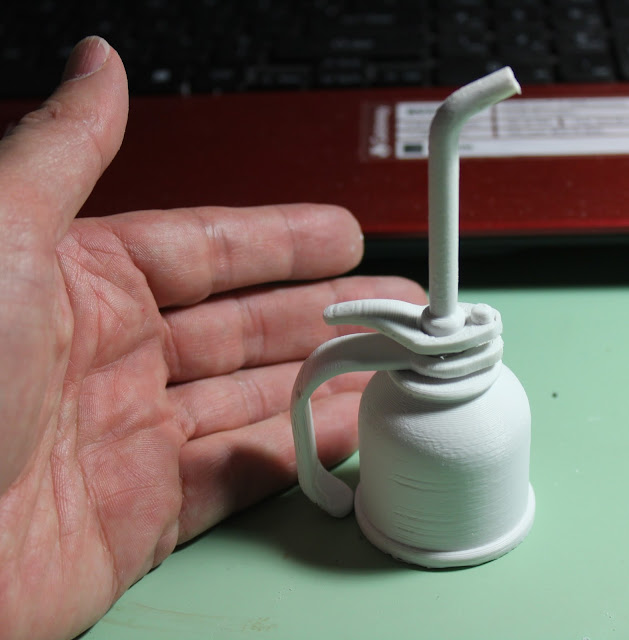
Lastly what self respecting Tin Man would be without his trusty oil can. This turned out very well and took a bit of thinking to get it printed correctly but will be a nice accessory for the project. I still have to do some sanding on the individual parts of the oil can and then glue them together and paint it. I was lucky enough to find an image of the actual oil can used in The Wizard of OZ so I am happy to include this with the Tin Man when he is on display.
Part four of the project should wrap things up with this project so check back to the site soon to see how it all turned out.


Nice Information.Car workshops in Hyderabad
ReplyDelete