

A few months ago I completed this 3D printed model of a spaceship that I call "Titan". I am very pleased on how the model turned out. With this model I also planned on building a carrying case for it as it would be a real disaster if it had been damaged in any way shape or form while I move it from my home to a maker fair. So I am happy to report that my efforts to complete the carrying case are finally nearing an end. I thought it best to do a bit of a review of how the carrying case has taken shape so that those of you that have just seen this post can get caught up on my latest project.

The carrying case started with a large piece of foam core and an edging of Styrofoam. This is used for the base of the carrying case.

Next a short wall of wood was glued into place around the perimeter of the base.

The upper cover and base construction are completed in this photo.

All of the corners are one inch foam that gave the carrying case a solid base to work on when I started fiberglassing.

Here the carrying case top cover had been sanded into shape and fiberglassed on the exterior. The case at this point is roughly 15 by 15 by 30 inches long.

The bottom of the base has mounting points for the cradles that will hold the spaceship model securely in place while the case is being moved from place to place.

Here the interior of the top cover has been fiberglassed and the mountings for the carrying handles have been installed.
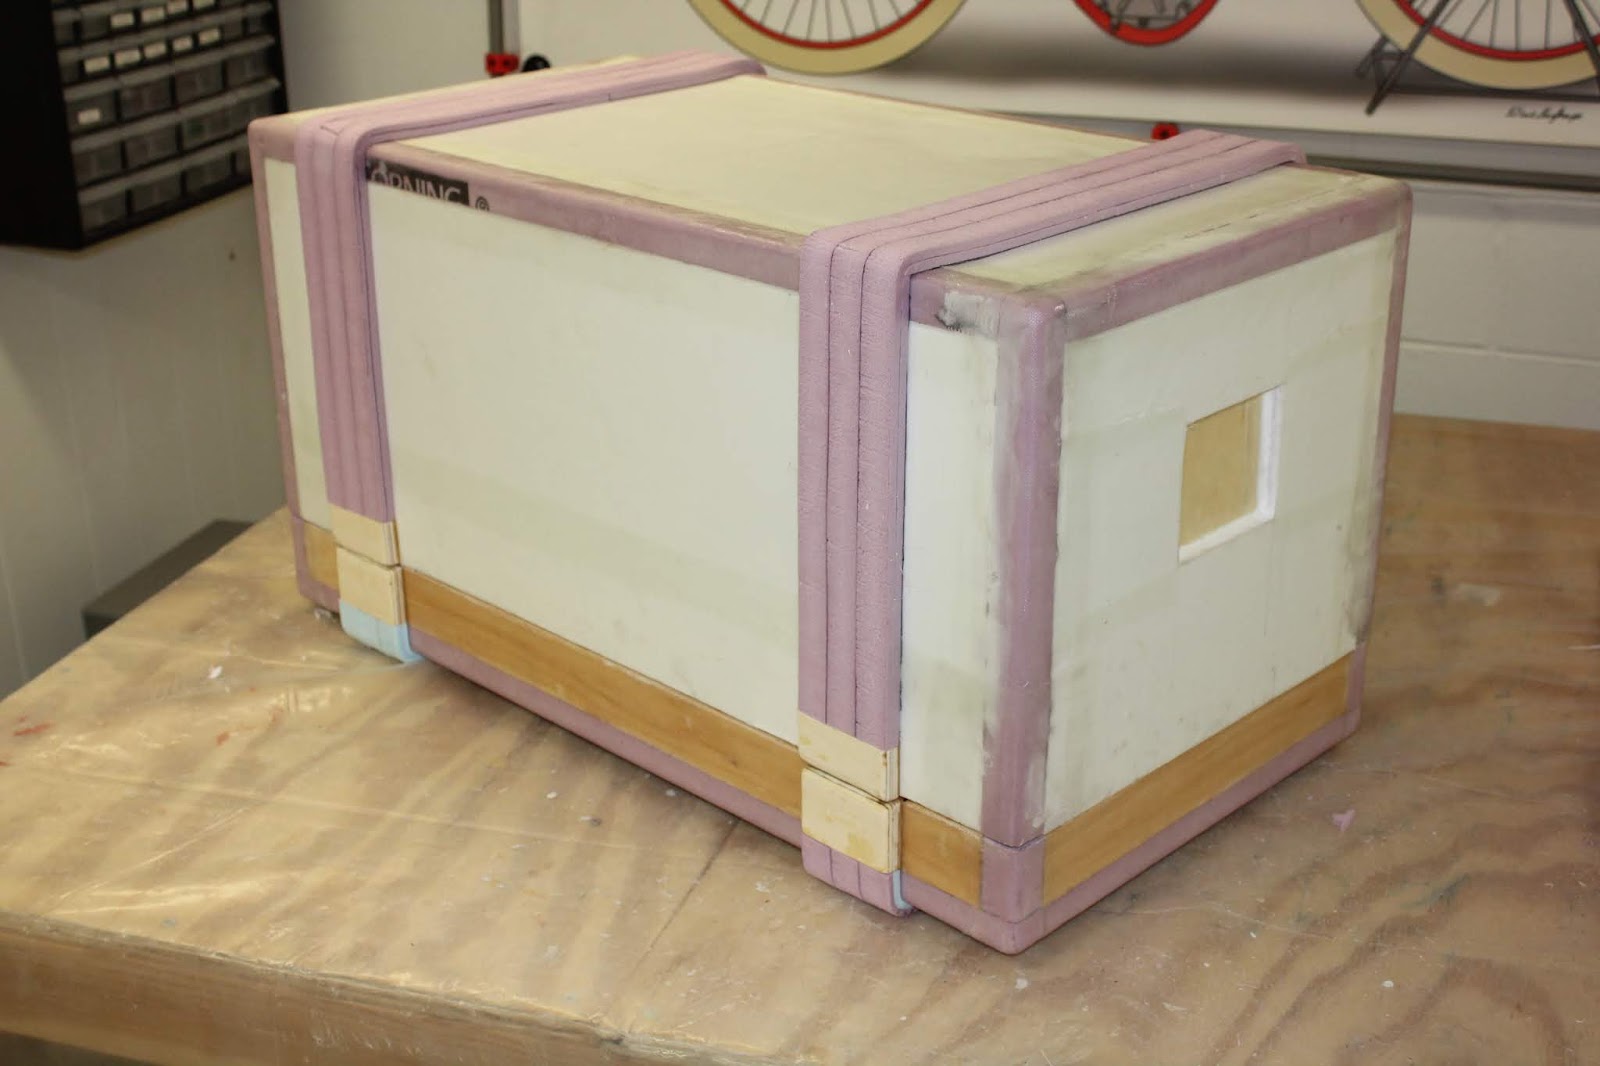
Next the outer surfaces of the carrying case were wrapped in Styrofoam strips to match up to the wooden latching mounts that are needed to secure the top cover to the base.

After the base had been fiberglassed and smoothed out it was time for the first coats of primer so that it could be painting. Sanding and priming over and over to get the surfaces smooth enough to paint were the order of the day.

Once I was happy with the priming on the top cover I taped off the areas that I did not want to paint white and then sprayed the handle areas and outer bands that would run around the outer surface of the case.

When the white paint had dried I removed all of the tape and paper from the top of the case to get it ready for the next step in my painting. Already the case is starting to look a lot better than just being in primer.

I taped off the white areas now so that a nice coat or two of red paint could be applied to the case.

I was surprised to find that the case at this point had turned out better than I had hoped. Nice and glossy when dry. Always a good sign when working on any project.

An excellent effort if I do say so myself. I have all of the mounting hardware and holes already set up for the carrying case so it will be an easy task to complete the carrying case when I start the final assembly. The painting on the carrying case top cover is completed and I will add a small black pin stripe that will be added to put a nice finishing touch to the paint edges where the white and red meet.
The base for the carrying case will be completed over the weekend and then final assembly can start. The interior of the case will be lined with gray felt and then the mounting of the spaceship cradles, carrying handles, and cover latches will be added. Lastly I plan on small felt pads to be added to the base of the carrying case to protect the paint on the bottom surfaces when it is in use. I suspect that the case will show some where over time but that is the purpose of the case in the first place. So I was not overly concerned that the case be in absolutely pristine condition when I completed this project. Still I think at this point it is far better looking than I had originally planned. I'll post the more pictures of the carrying case and the spaceship model together once I am happy with the project and I put the final touches to the carrying case.
No comments:
Post a Comment