
The Makerbot Walking Machine

This project has been on my workbench/worktable for quite some time so I am happy to announce that my Makerbot Walking Machine has been completed today! I had seen something similar to what you will see here online some time back and thought " I can build that! And for less money too! ". This little walking machine was quite a puzzle to design and build. The key to the movement of the legs is a cam shaft that is built into the center of the machine. This was a real trick to get to design and work properly. The next problem was just assembling all of the parts around that cam shaft. A challenge that turned out to be worth the effort.

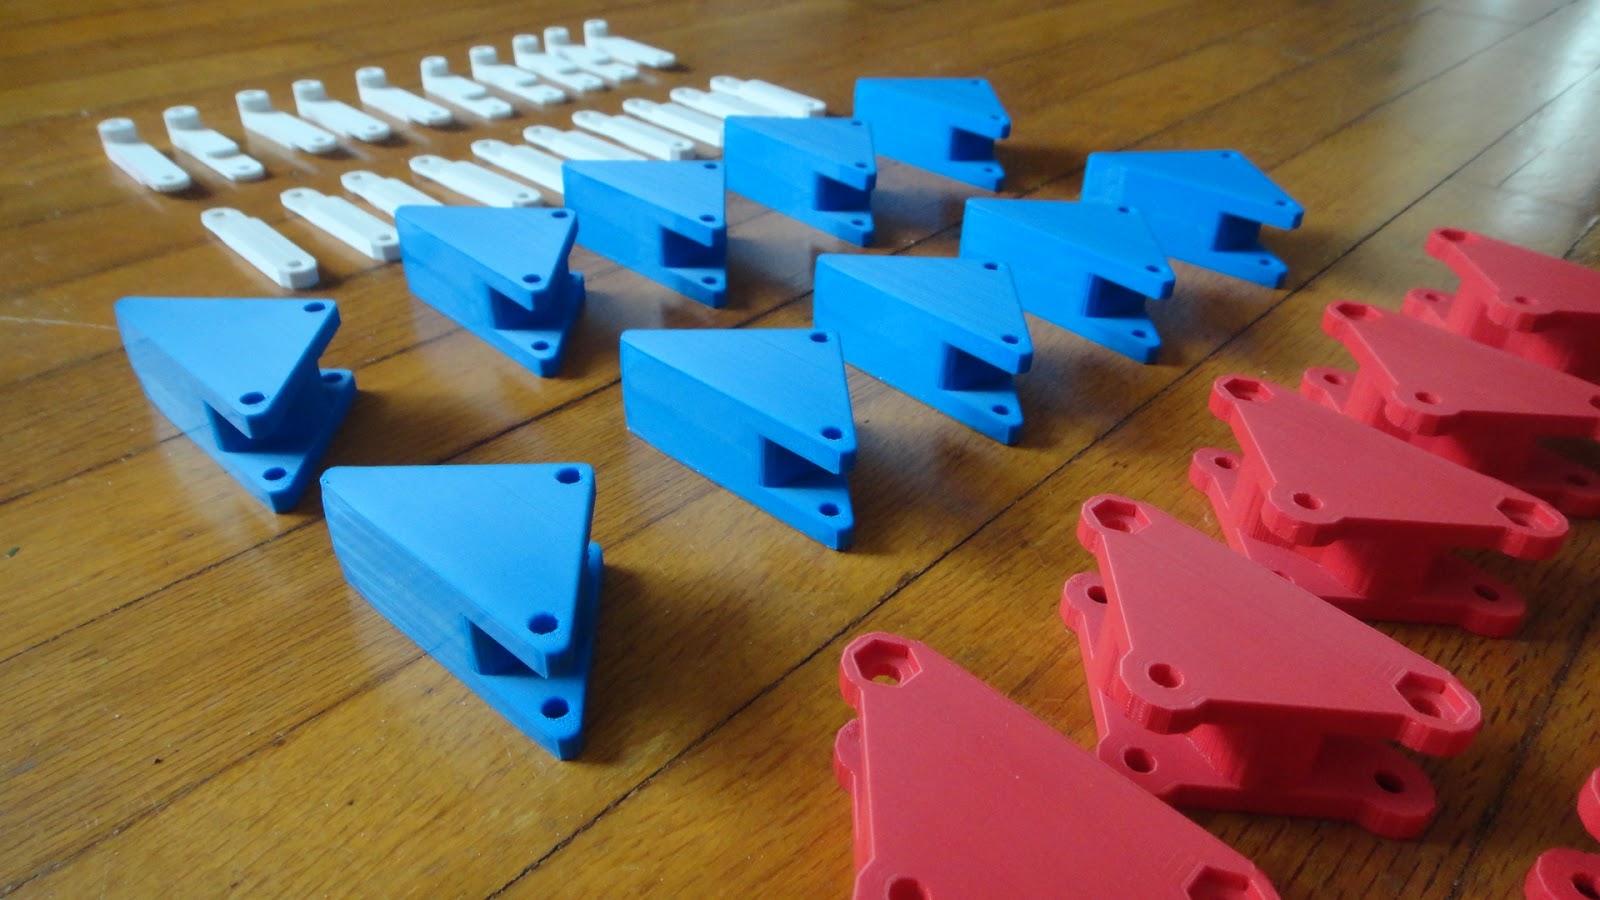
This is a good shot of the parts that I printed on my Makerbot Replicator 3D printer. The red parts took two hours each to print. This was before I upgraded the software and the time then could be cut it half. (See an earlier post on the upgrade).

This is the first camshaft that I designed. It looks good but it was difficult for the shaft to maintain the correct orientation for each cam. This was scrapped and a new design came out of what I had learned from this first effort.

Parts, parts, and more parts.

Three threaded rods were used to hold the assembly together. That and a lot of nuts to position all of the Makerbot printed parts and the camshaft.

Here the threaded rods were mounted to the first of six spacer plates. I used nyloc nuts which held everything secure. The only problem was that running these nuts down the entire length of the threaded rods was time consuming to say the least.

This shot shows some of the major parts that went into each of the ten legs on the walker. The Makerbot Replicator printer really did a nice job of printing the parts for the machine.

Assembly was started in ernest in this photo. Looks more like a big pile of plastic with no organization at all. As I said earlier this was a real puzzle to design and put together. I figure the total time just to assemble the machine was close to six hours. As there are over 280 parts in the machine if you count every single part including nuts, bolts and washers.


As the saying goes... A clean desk is a sign of a sick mind. In this case I am not so sure.


Here the Makerbot Walking Machine is assembled.... for the first time. After I found out that the original camshaft that I had designed was not working properly I had to tear the machine completely apart to rebuild it with a better camshaft. Also after the second build of the machine I realized that the blue feet were mounted backward and the machine would not walk properly. Once these things had been corrected progress was the order of the day.


This was the key to a better camshaft. The problem that I had with the first design was that the camshaft kept losing it's orientation from one set of legs to the next. Each leg has a 120 degree difference in orientation and if this is lost it simply will not walk. So I designed a simple splined shaft that held the correct orientation for each leg. The machine was reassembled with the new camshaft and all nuts were mounted using lock-tite so nothing would loosen as the machine was played with.
This project has been sitting in boxes over the past four or five months due to my moving to a new home and other things that have gone on in my life so I am really happy to say this one is completed.
The completed machine is 8.25 inches wide, 12 inches long and stands 5.5 inches tall. Not sure about the weight. I suspect that it is less than a half pound.
Check out the little video that I put together of the machine running on my kitchen table. Due to the fact that the feet of the machine are hard plastic it does not have any grip on a hard table. This is why I added a knob on the side of the machine to make the legs walk. If I sit the machine done on a low nap rug and move it the machine will walk without the knob. As I said it has been an interesting project to design and build. Something else that will go nicely with all the other projects that have the Tinker's Workshop name on it. Enjoy the video.
As usual click the Youtube button below the video to get a bigger view.
That is so cool. I keep trying to get my grandkids interested in building nano bugs and other tinker kits but only one has shown desire. The rest say cool and turn back to their video games
ReplyDeleteThat's really great! Very nice work. Is it based on Theo Jansen's Strandbeest?
ReplyDelete