
Following with my train of thought about vehicles for the past couple of weeks I completed this neat little 3D printed Indy Racer this morning. This design I had in my files for some time with a couple more ideas that will be coming in the future on the same line. My original thought a couple of years ago was to make a series of toys that used skateboard wheels as the main focus of the design. This is the case with my little Indy Racer that you see here.


The racer is 8 1/2 inches long, 5 1/4 inches wide and 3 1/2 inches tall. Other than the use of the skateboard wheels it was completely printed using my Makerbot Replicator 3D printer.

The body of the racer took the longest to print as it is the largest piece in the assembly. It was printed all in one piece and took 7 1/2 hours to complete. I am very pleased with how it turned out.

Here is a photo of one of the wheel/axle assembly parts. It uses two standard skateboard wheels complete with bearings. I found a complete set of four with the bearings on Ebay for $10! The bolts are 2 1/2 inch long 5/16th inch bolts. These were a perfect fit for the bearings. The "T" shaped part is the axle housing and the two little cylinders are spacers for the wheels.

Here one of the wheel/axle assemblies have been put together. The holes in the wheel/axle housing is the perfect diameter to screw the bolts into place to hold the wheels on securely.
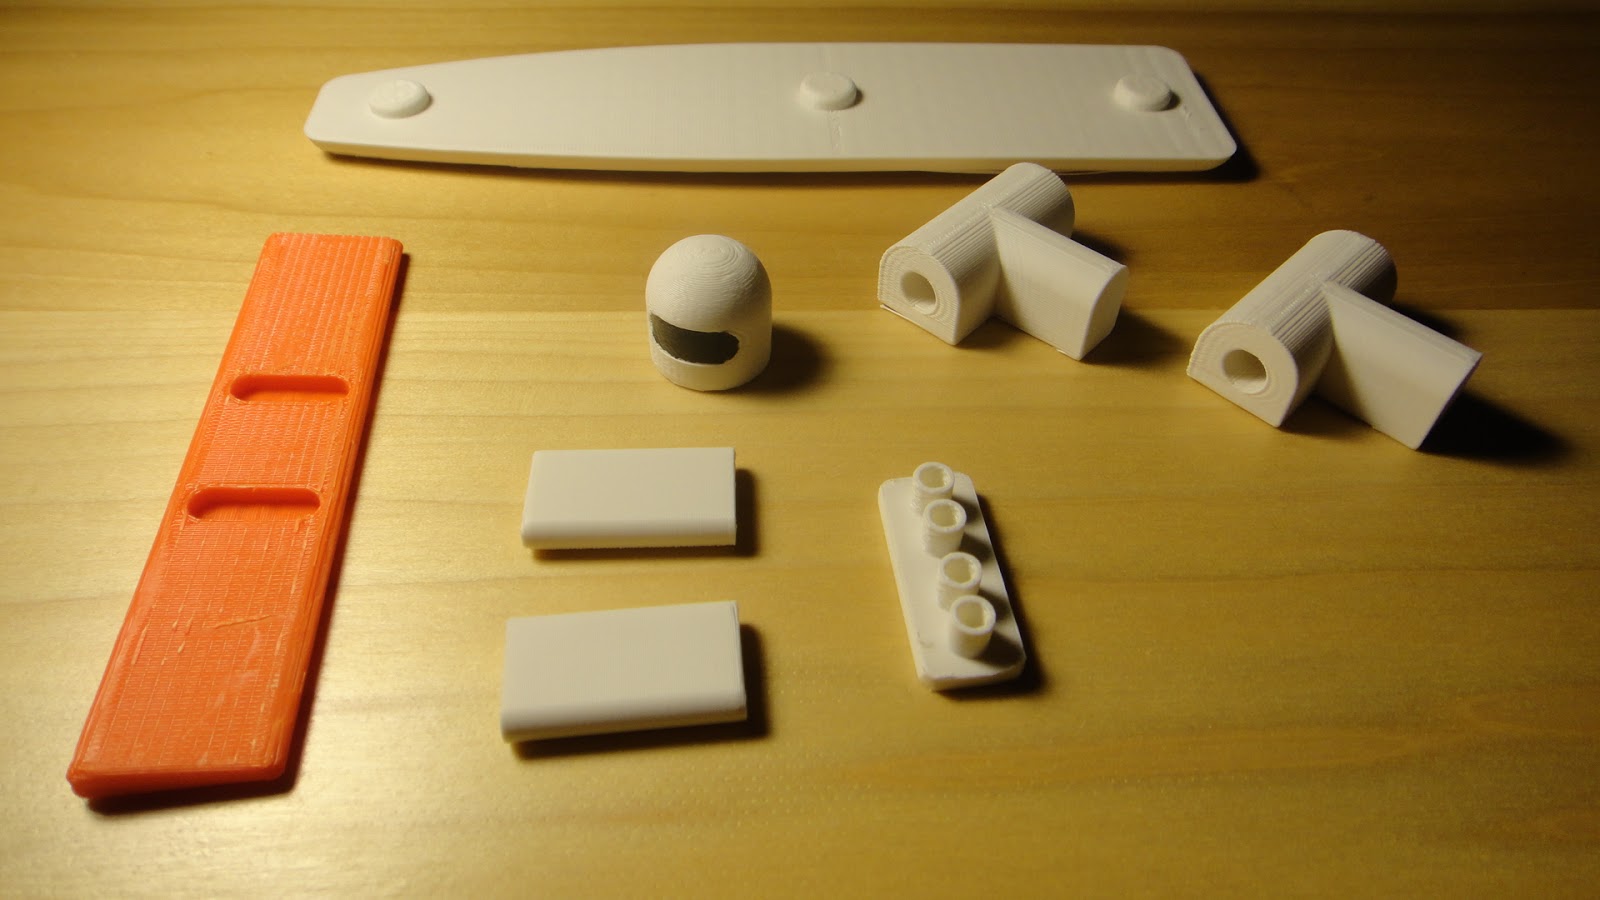
Here are the rest of the parts for the racer. The top part is the belly pan of the car. Protrusions on this part were designed into it so that alignment to the body would be easier. On the left is the rear wing. Moving to the right is the drivers helmet and the two rear wing struts. Farther to the right are the two wheel/axles housings and the last part with the four tubes standing vertically is the exhaust for the racer.

This is a good exploded view of the wheel/axle assembly and how it is installed into the racer. The "T" wheel/axle housings slide into mating recessed areas in the underside of the body. Once these are in the place the belly pan of the racer was epoxied into place to hold everything securely. You can also see in this image the recessed areas in the body and the wheel/axle housings. These mate up to protrusions on the belly pan so all the parts will line up properly when the the racer is assembled.
The little racer is fast on the floor and with the skateboard wheels I would not be surprised at all that it will roll down a city street at a good clip. More toy projects using skateboard wheels will follow with the successful completion of this little Indy Racer. The files for this little racer are available now on my plans page for only $3.00 so that you can print your own Indy Racer for your little boy or girl to play with. For me it will be another nice addition to my own collection of toys.
Check out this time lapse video I put together of the body printing for the Indy Racer. The actual time the body took to print was 7 and 1/2 hours. This video compressed it down to 52 seconds. Fun to watch. Enjoy.
No comments:
Post a Comment