Progress has been going very well these past couple of days on the painting of the parts for the Fusion Drive spaceship project. Lots of sanding and priming of parts have been the order of the day or should I say days this week but I am slowly seeing the end of this project nearing very quickly with my efforts.
Here once again is the front of the spaceship being sanded and primed for the second or third time. The top photo shows what the piece looks like after the primer has been sanded down. The primer helps show the flaws in the parts or the sections that need to be sanded to get a nice uniform surface for paint like what you see in the bottom photo.
This nice shine black piece is the front windshield for the model. I have already test fit this into the front section and it snaps right into place. With it being already painted before I do the assembly it will be the exact look that I was hoping for when I designed the model. It would be near impossible to get this part painted to look like this once it had been installed into the model.
In the photo above is a number of parts for the fusion drive fuel cells (silver parts on the right) and fronts to the fusion drives on the left (silver) and their mounting rings (red).
Here's a closer look at one of the fusion drive front sections. These parts were completely 3D printed and required only a little effort to get them as smooth as what you see here.
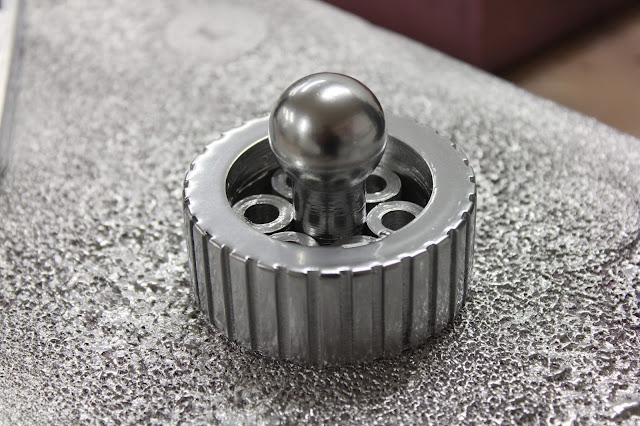
These twelve little button parts will be the end pieces for the fuel cells. These parts actually were some of the simpler parts to prep for paint but needed to be painted upside down first and the right side up over a couple of days to get them to look the way they do here. This took several days so that the paint would dry completely before turning them over but the wait was worth it in the end.
This rather handsome piece is the housing that mounts the fusion drive (large light bulb) along with the fuel cells for the spaceship. The entire assembly will really be impressive once all the components start coming together.
Here are the components that make up one of the fuel cells for the model. The four white pieces are the end caps that were 3D printed the center rod with the red coil is a wooden dowel with a small plastic sleeve and the blue piece is the outer Plexi-glass tubing that holds everything in place.
Here are the fuel cells completely painted and assembled ready for installation into the silver center housing I wrote about earlier. These six assemblies have a total of 42 parts. My planning paid off with these assemblies as very little gluing needed to be done to hold each assembly together. All of them in place on the complete model will be quite impressive due to the detail that is in each assembly.
Here the fins for the model have been prepped for another coat of primer. The orange blotches on the parts in the top photo are where I touched up the parts using glazing putty to fill any imperfections I found after the first round of sanding and primer. In the bottom photo the fins are nearing perfection so I think they will be just about ready for paint very soon.
This is the center ring that will be painted silver for the model and is very near ready for it's glossy coat of paint as well. This part has been sanded and primed a couple of times already and should be almost ready for paint as well. I will have to inspect this part once again before I put my blessing on it but from what I see here it looks very good.
I'll keep plugging along with my painting but from what I have managed to get done already this week it should not be very long before I can do final assembly of the model. Along with this in mind I am also working on a design of a carrying case for this rather large 26 inch + long model. I would hate like anything to drop this model as it would be destroyed in a heartbeat if that should ever happen. All plastic and glass meeting a hardwood or concrete floor is not something I would ever want to have happen to my latest creation. So a case will be in order. Once I have the model completed I will immediately start work on the carrying case and let you know what I have planned when I am ready to start that project for this project. For now enjoy the latest update.


No comments:
Post a Comment